Connecting an Agent
This page is the step-by-step for connecting the Archive MCP server to each AI assistant. For what the server can do once it’s connected — every tool it exposes, grouped by area — see MCP Server.
Server URL: https://app.archive.com/api/v2/mcp
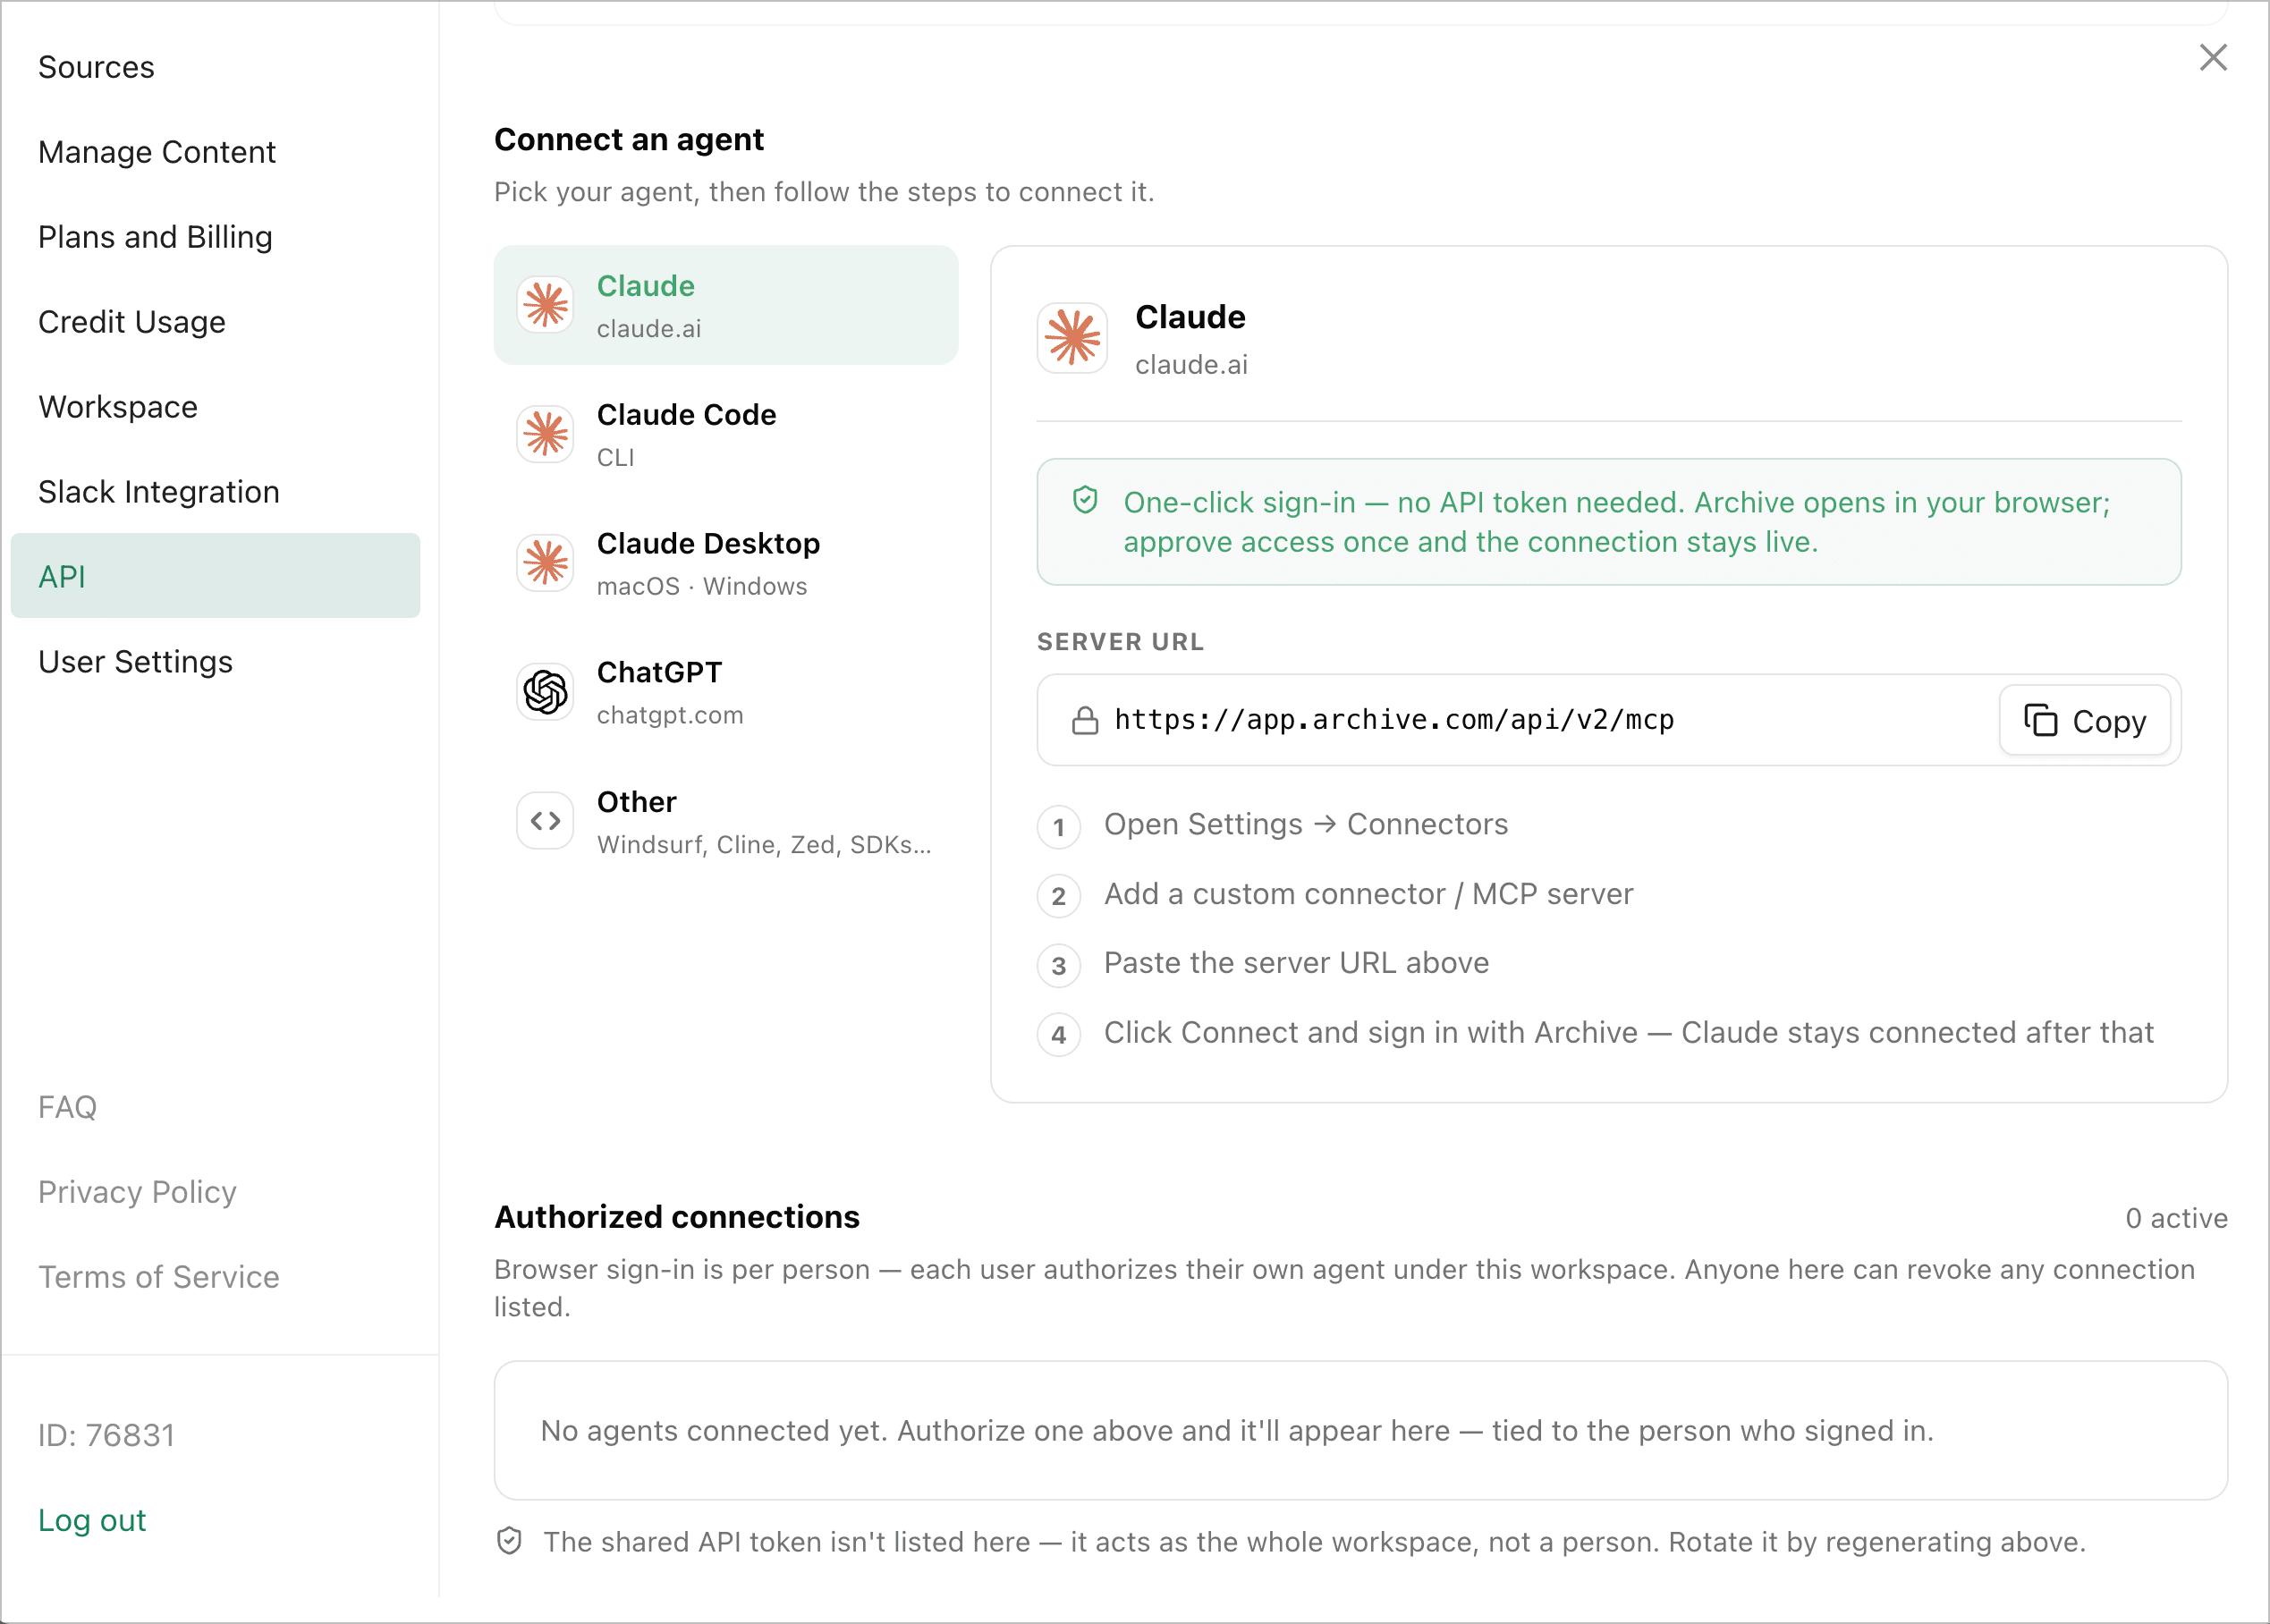
Start from Settings → API → Connect an agent in Archive: pick your agent and follow its steps. Most agents use one-click browser sign-in — no API token to copy. Archive opens in your browser, you approve access once, and the connection stays live. Every browser sign-in ends on Archive’s consent screen — that’s the last step, and it’s where you choose read-only vs. full access and which workspaces to grant. Both default to the permissive option, so a read-only or narrower connection is something the person has to choose.
Browser sign-in is per person — each user authorizes their own connection under the workspace, and anyone listed can revoke any connection. The shared API token (used in the Other clients config below) acts as the whole workspace, not a person.
Claude and ChatGPT need one extra step first. Archive isn’t listed in either connector directory yet, so someone has to create a custom connector — once per workspace, not once per person. Claude Code and the config-file clients below don’t need it.
Claude
First create the custom connector — a one-time step, identical in the browser and in the desktop app.
Archive then appears in Settings → Connectors as not connected, with a Connect button:
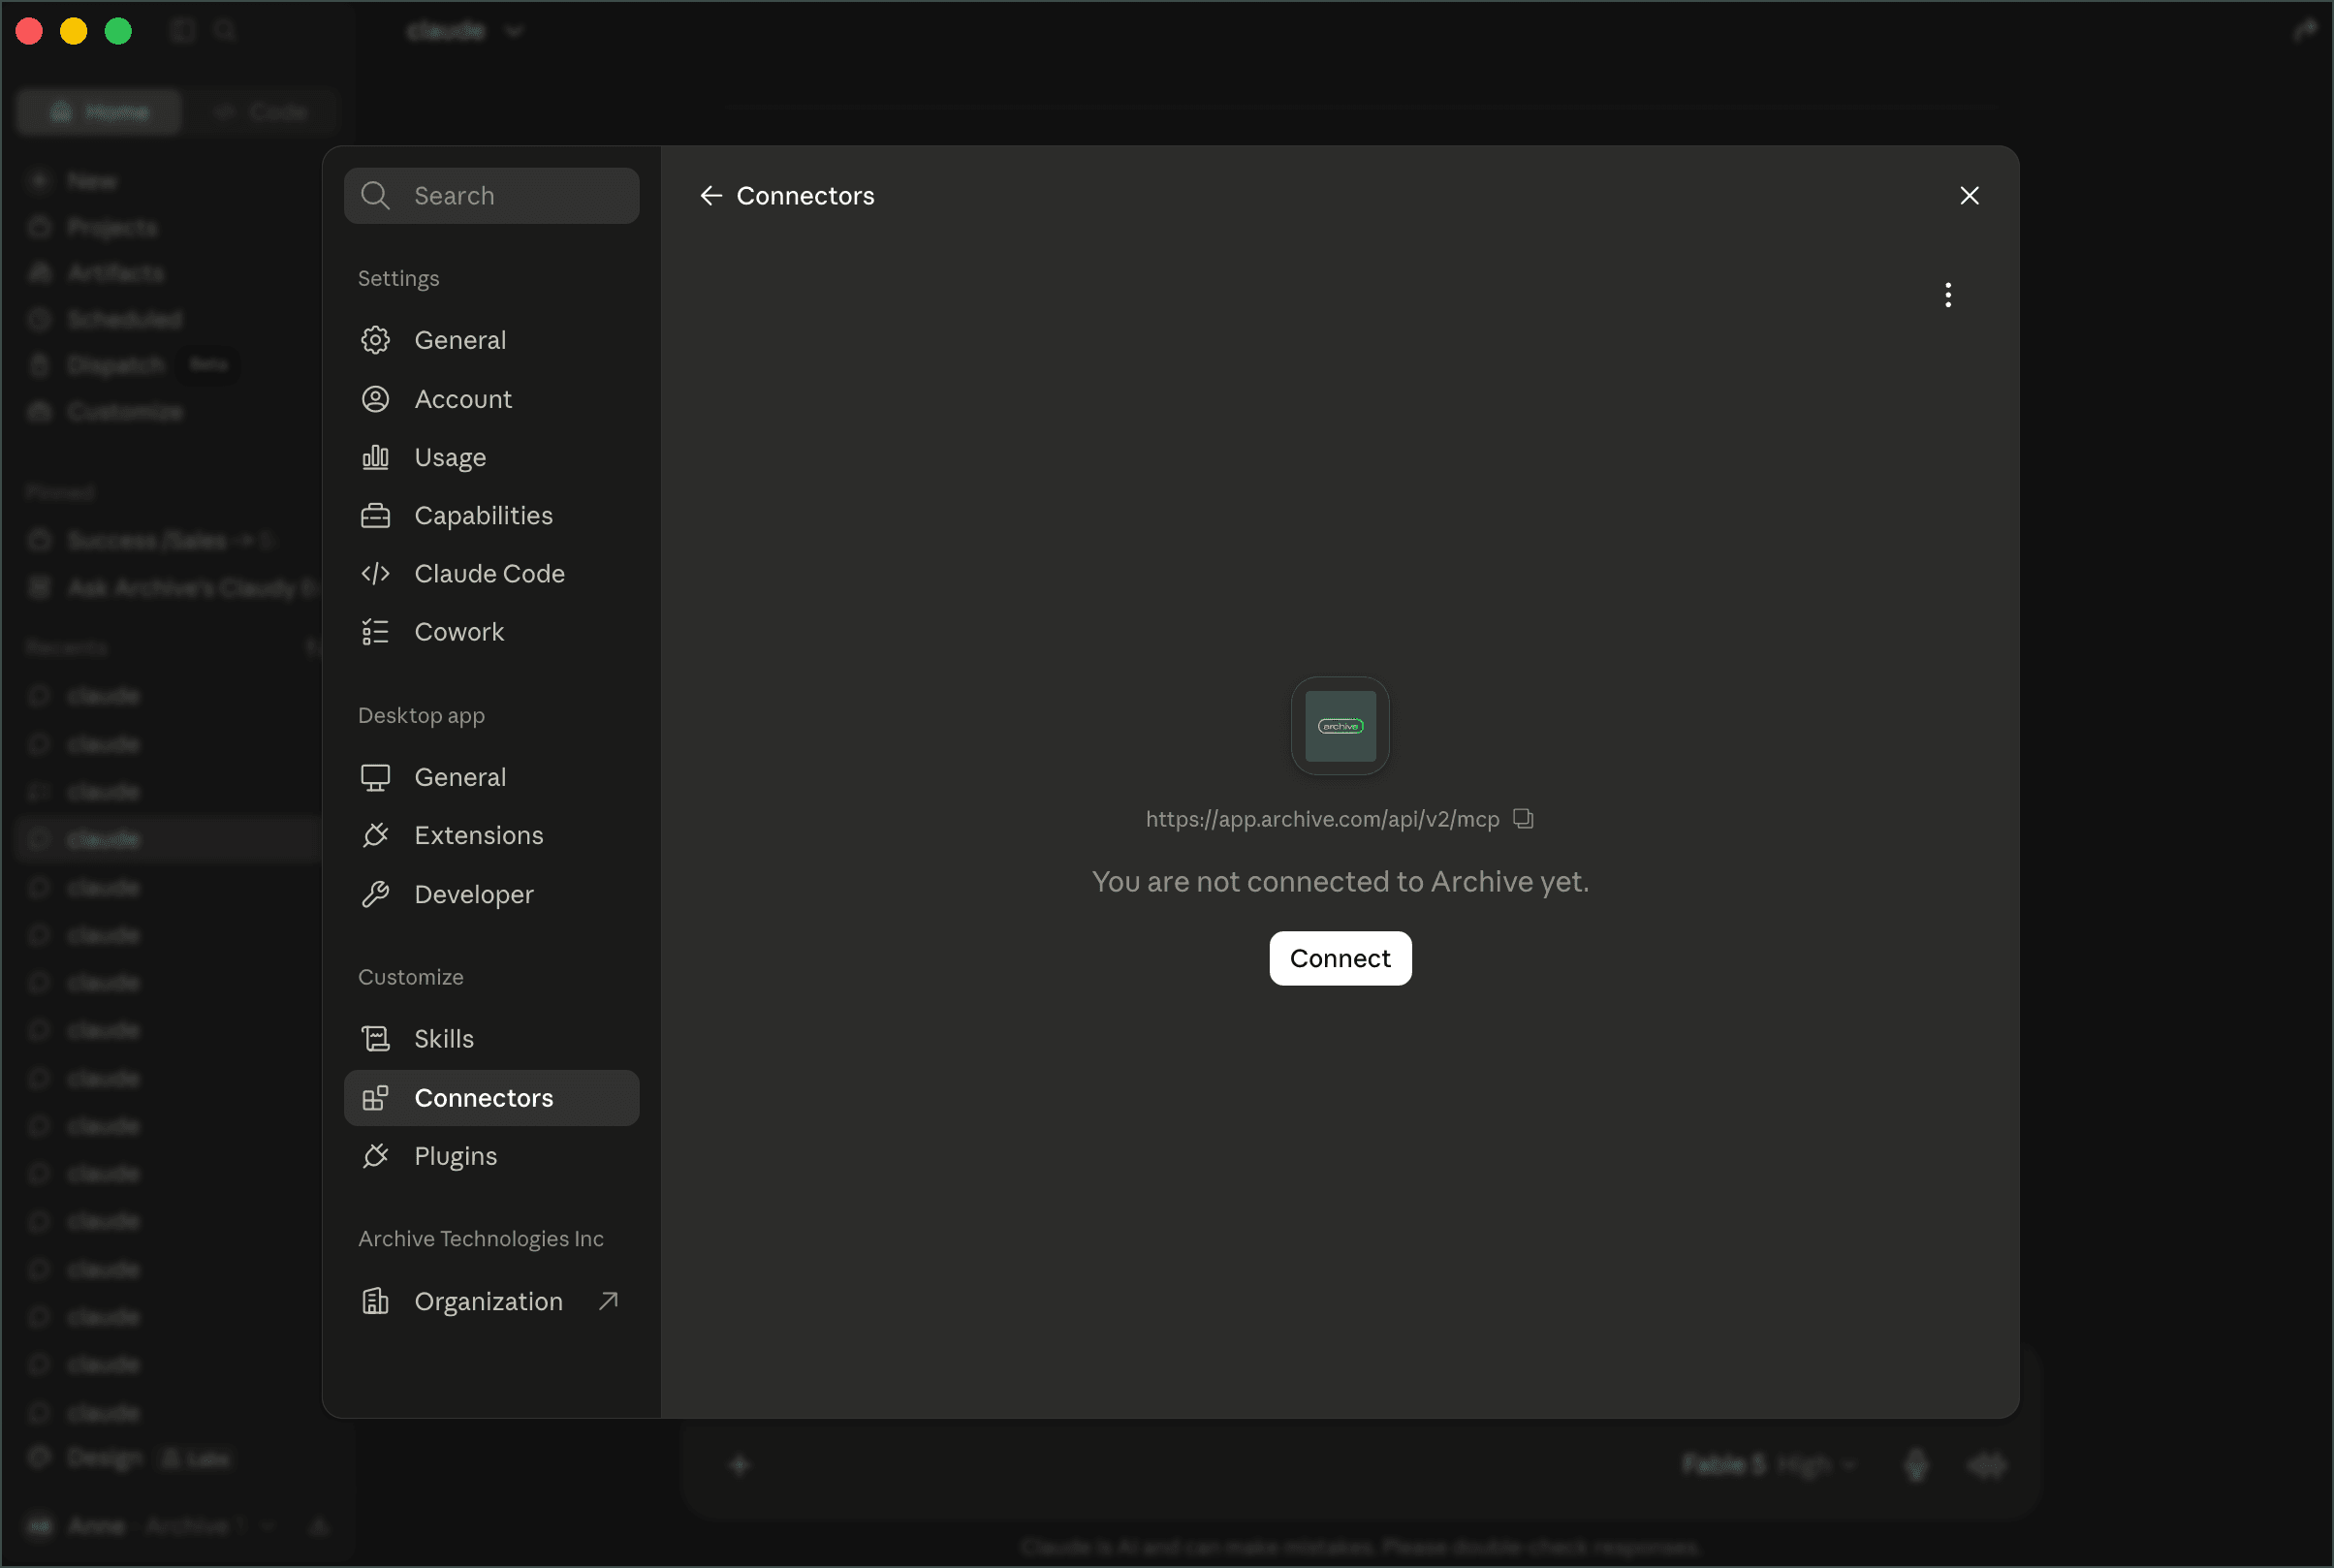
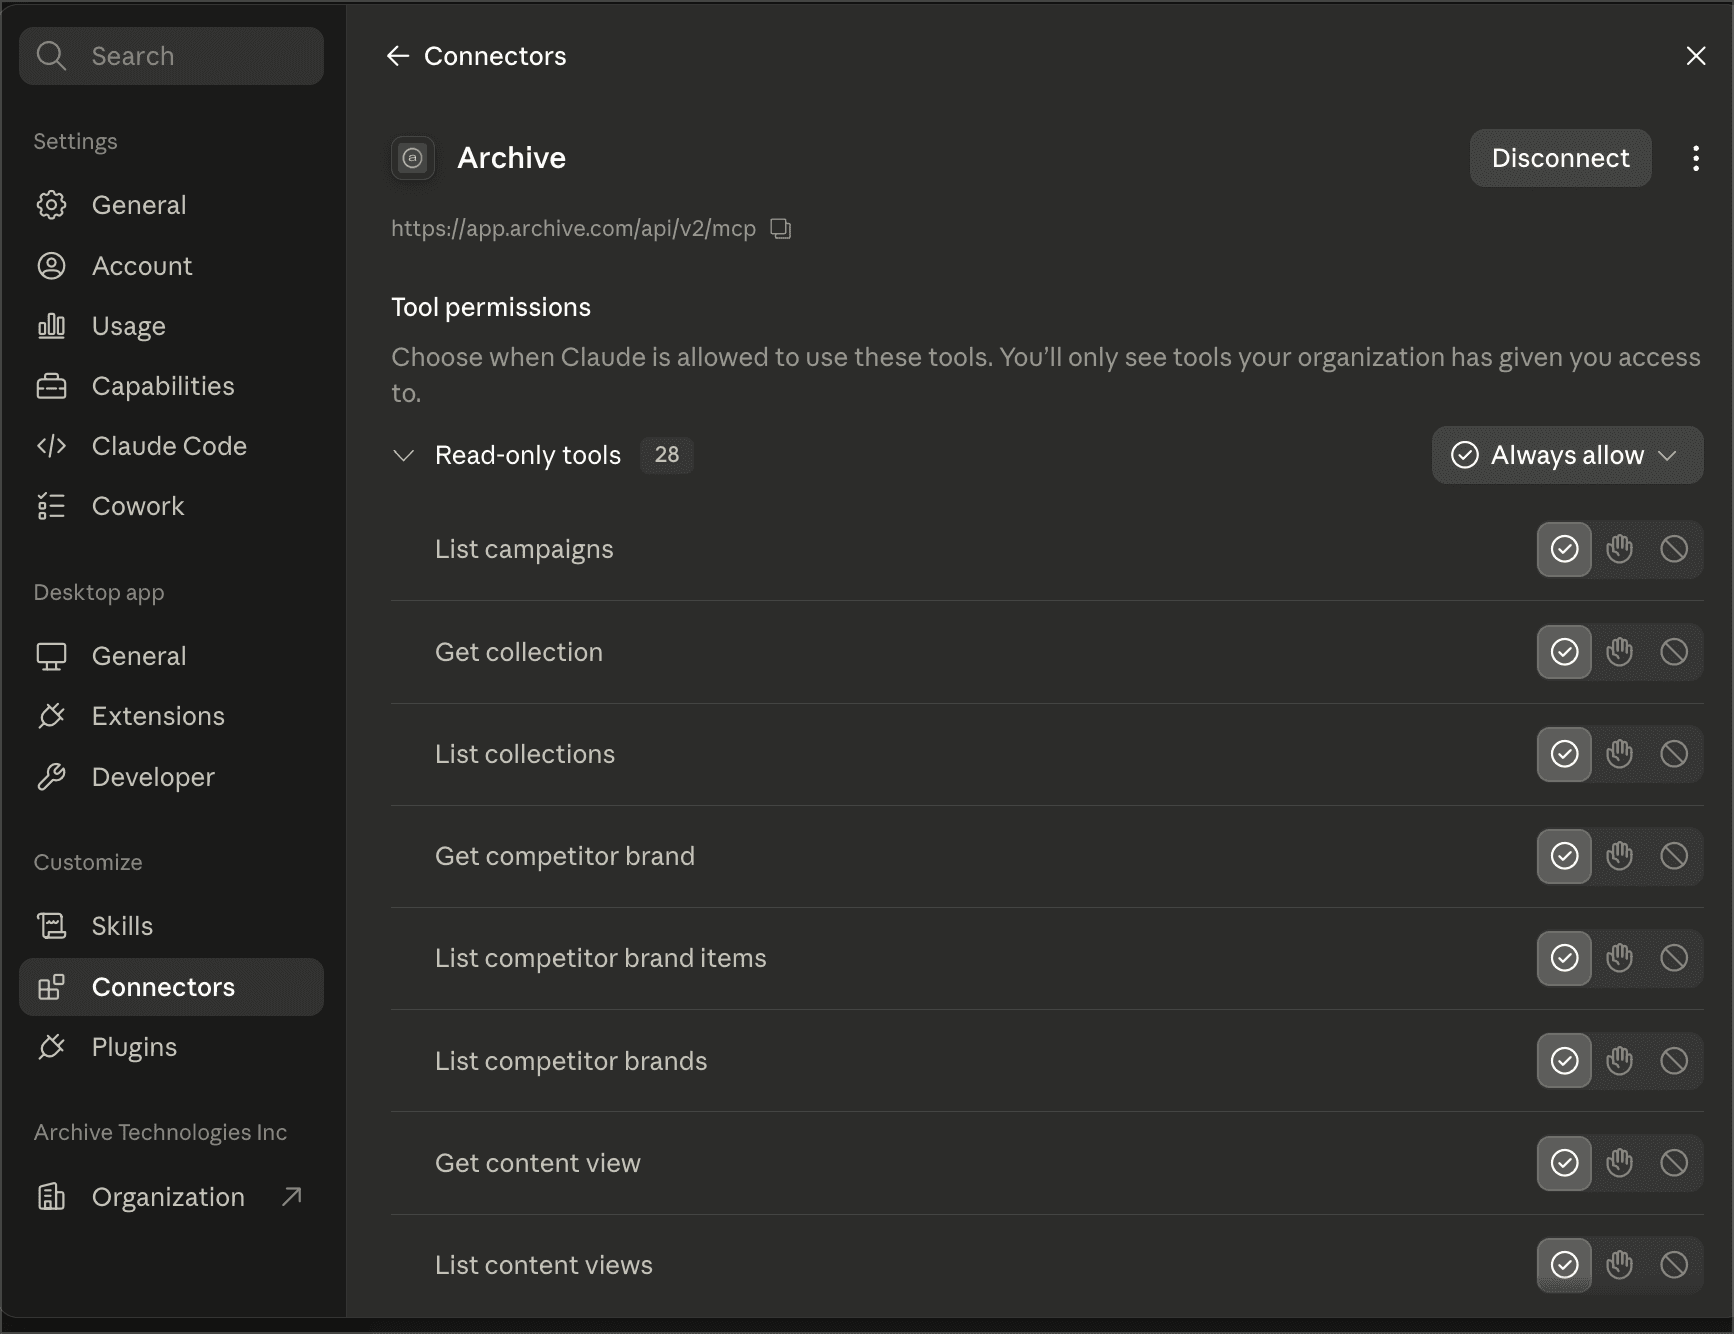
Click Connect, sign in, and approve access — Archive’s consent screen is where you pick read-only vs. full access and which workspaces to grant. Once connected, you can review the tools and set each group’s permission: read-only tools and write/delete tools are listed separately, each settable to Always allow, Ask, or Never.
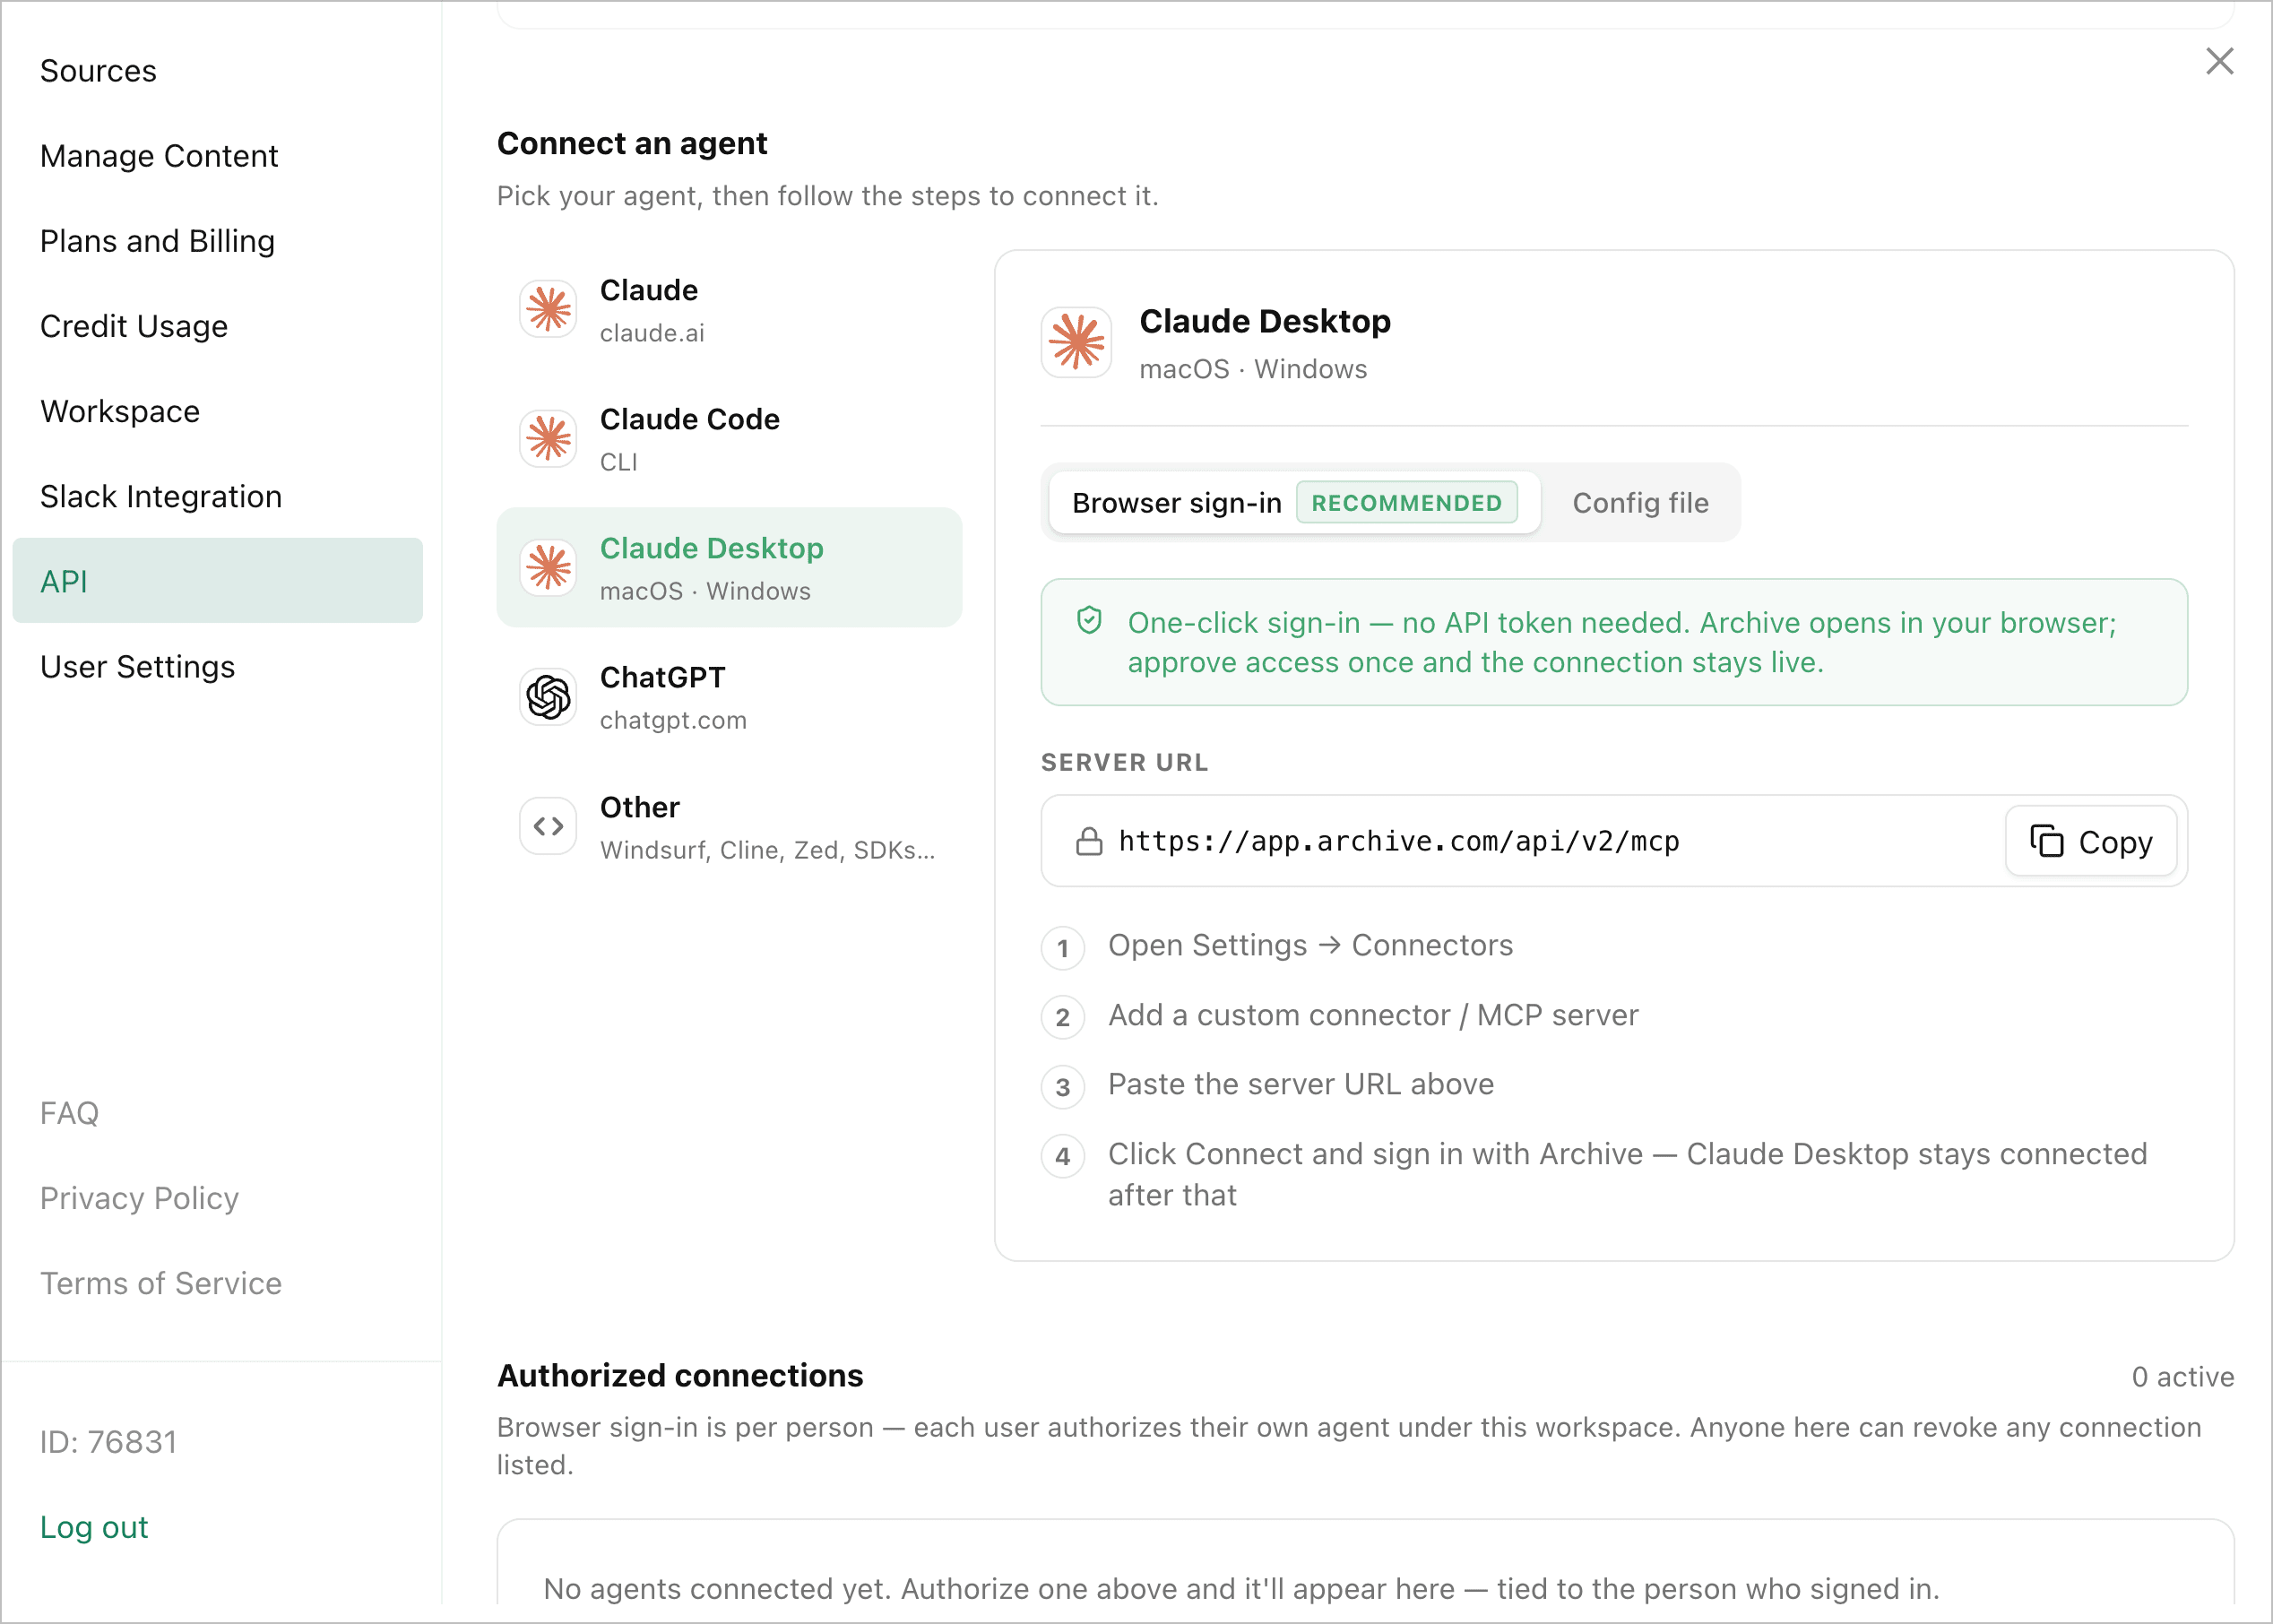
Desktop app only: remote connectors go here, in Settings → Connectors — not in
claude_desktop_config.json, which only handles local servers.
Claude Code
Claude Code connects from the terminal in one command, and needs no custom connector. Grab it from Archive’s Connect an agent screen (Claude Code tab):
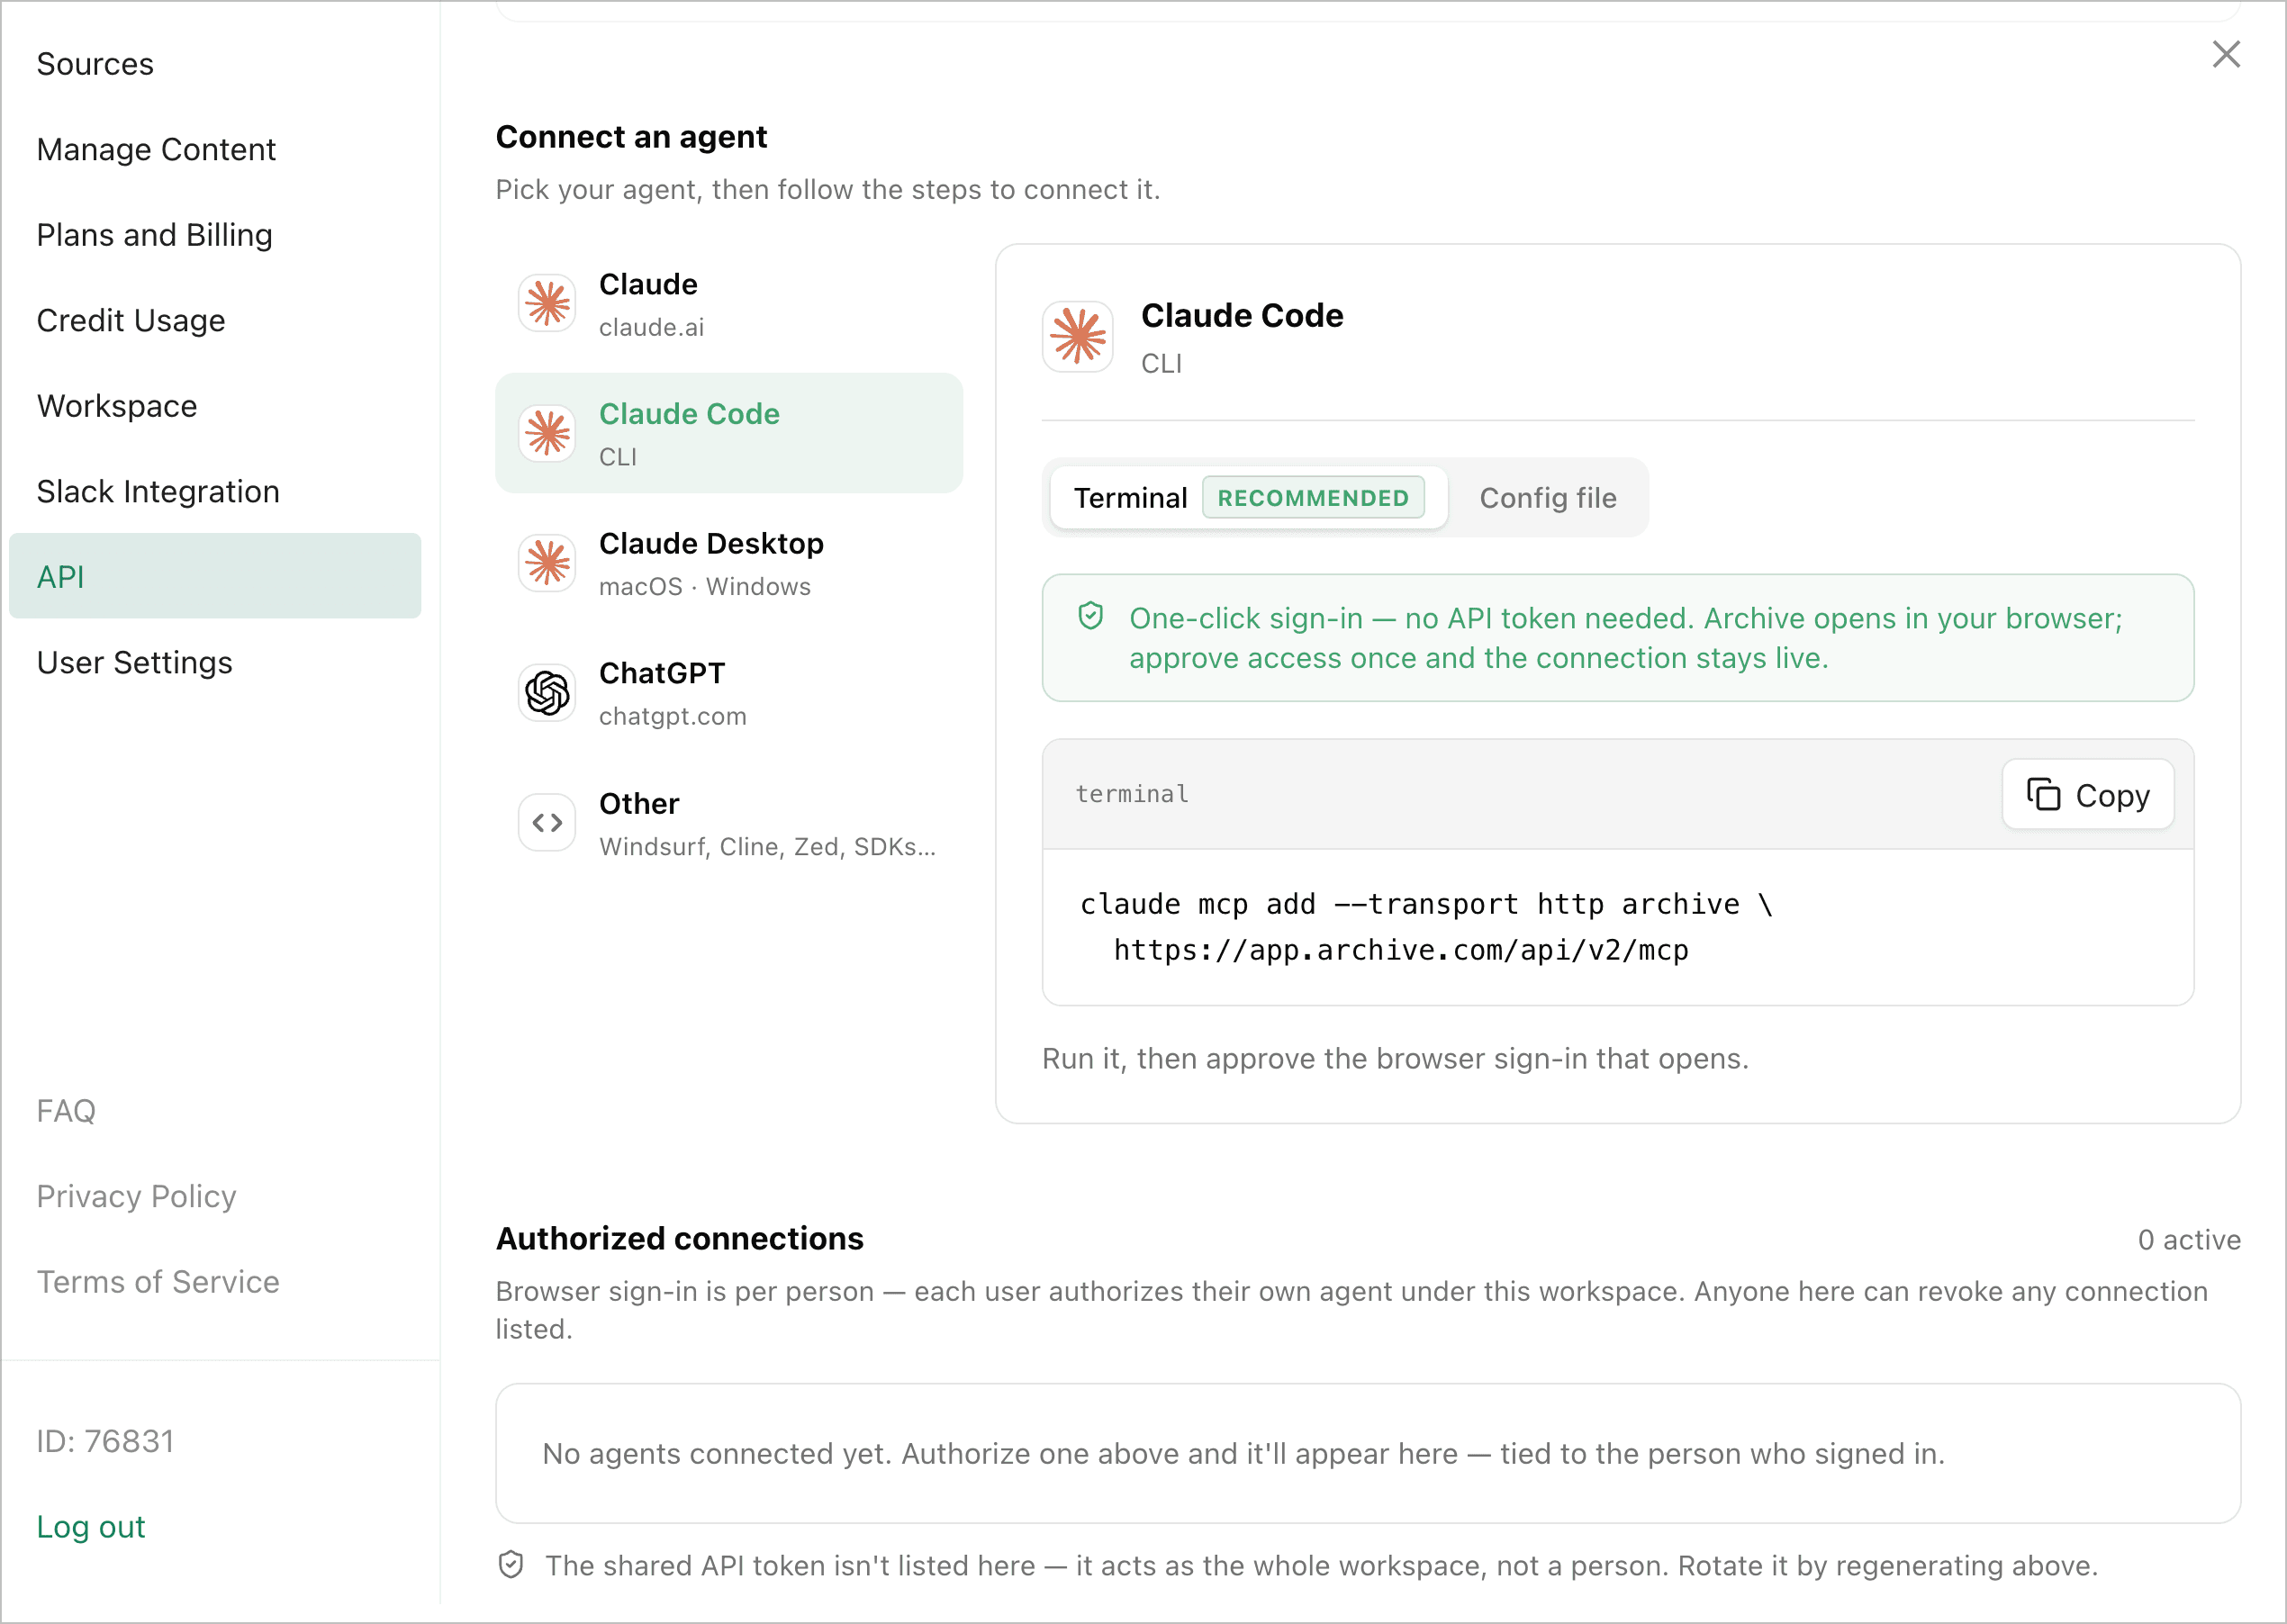
Run it in your terminal:
claude mcp add --transport http archive https://app.archive.com/api/v2/mcp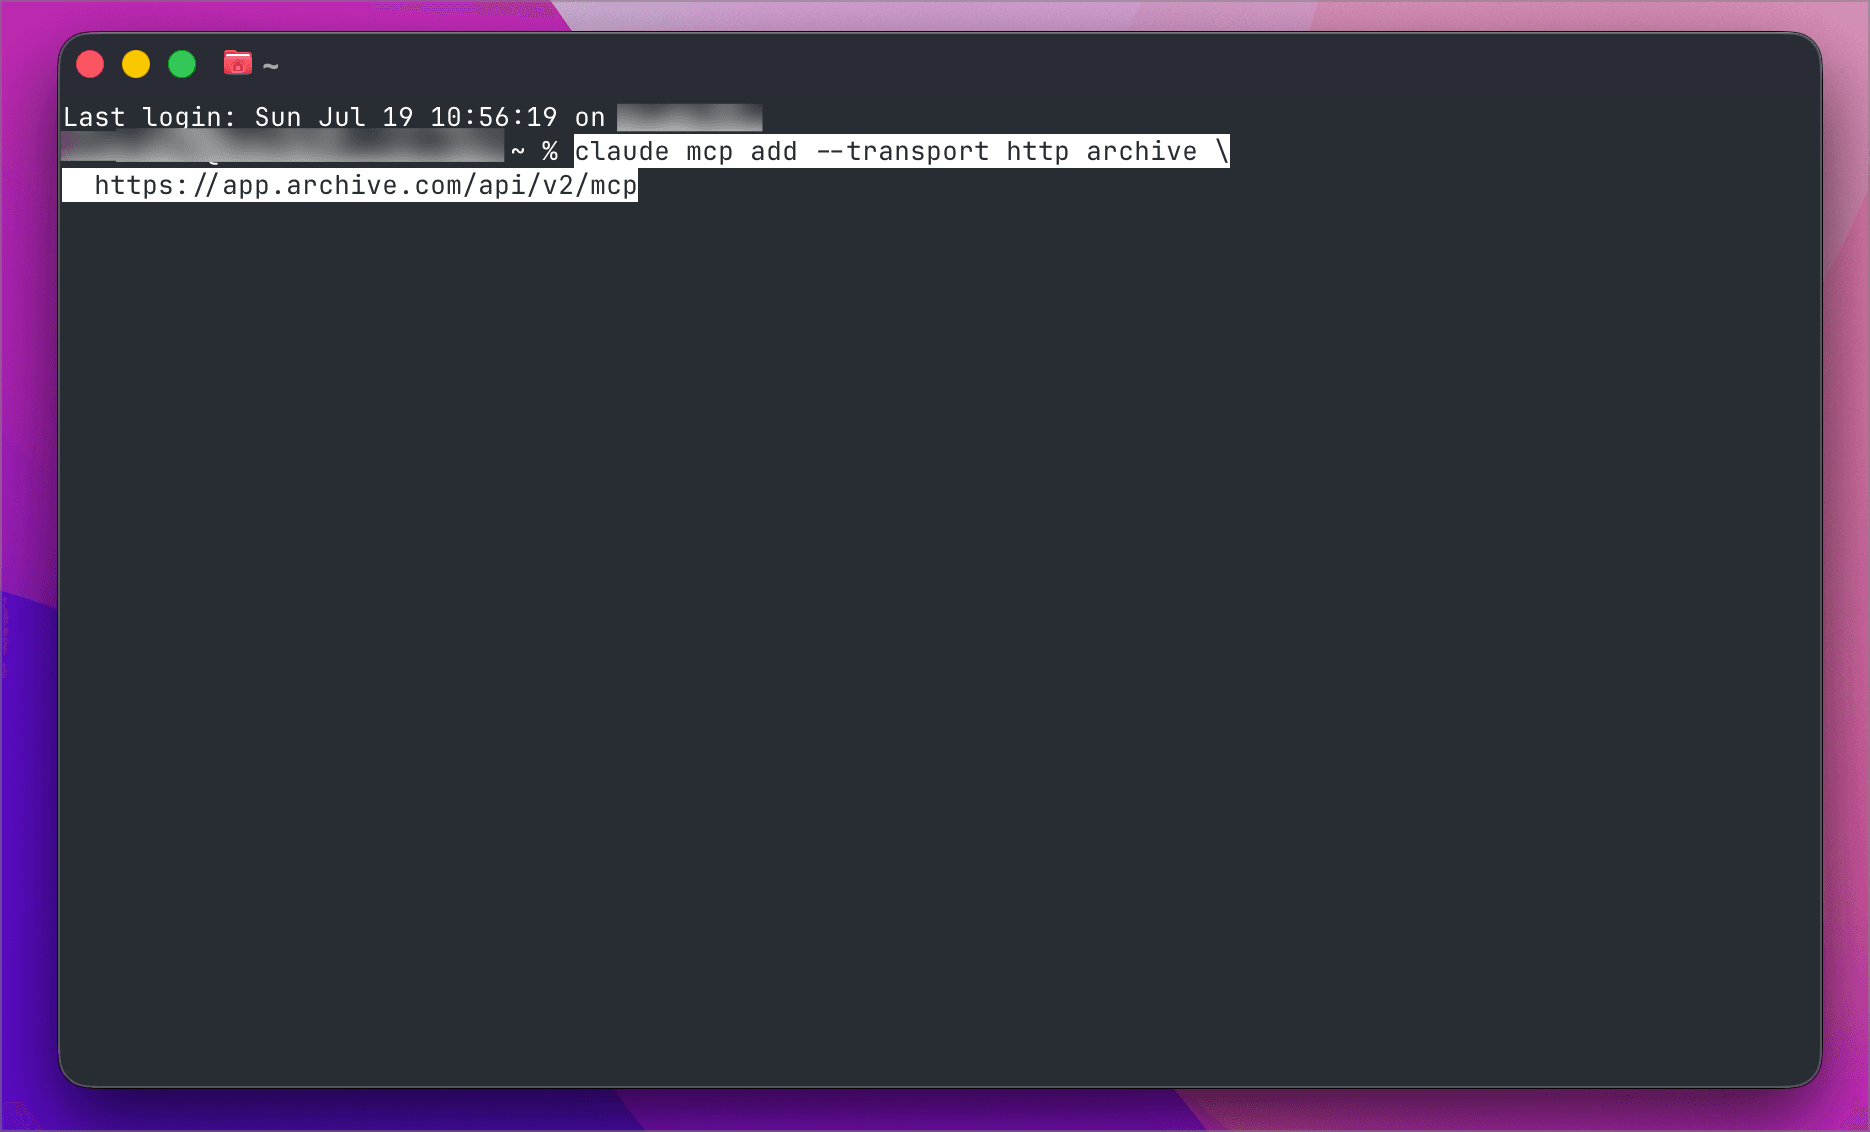
Claude Code then opens a browser to authorize — approve access and press Enter to finish:

ChatGPT
First create the custom connector — on Business and Enterprise a workspace admin does that once for everyone; on Plus and Pro you do it yourself and the result is read-only.
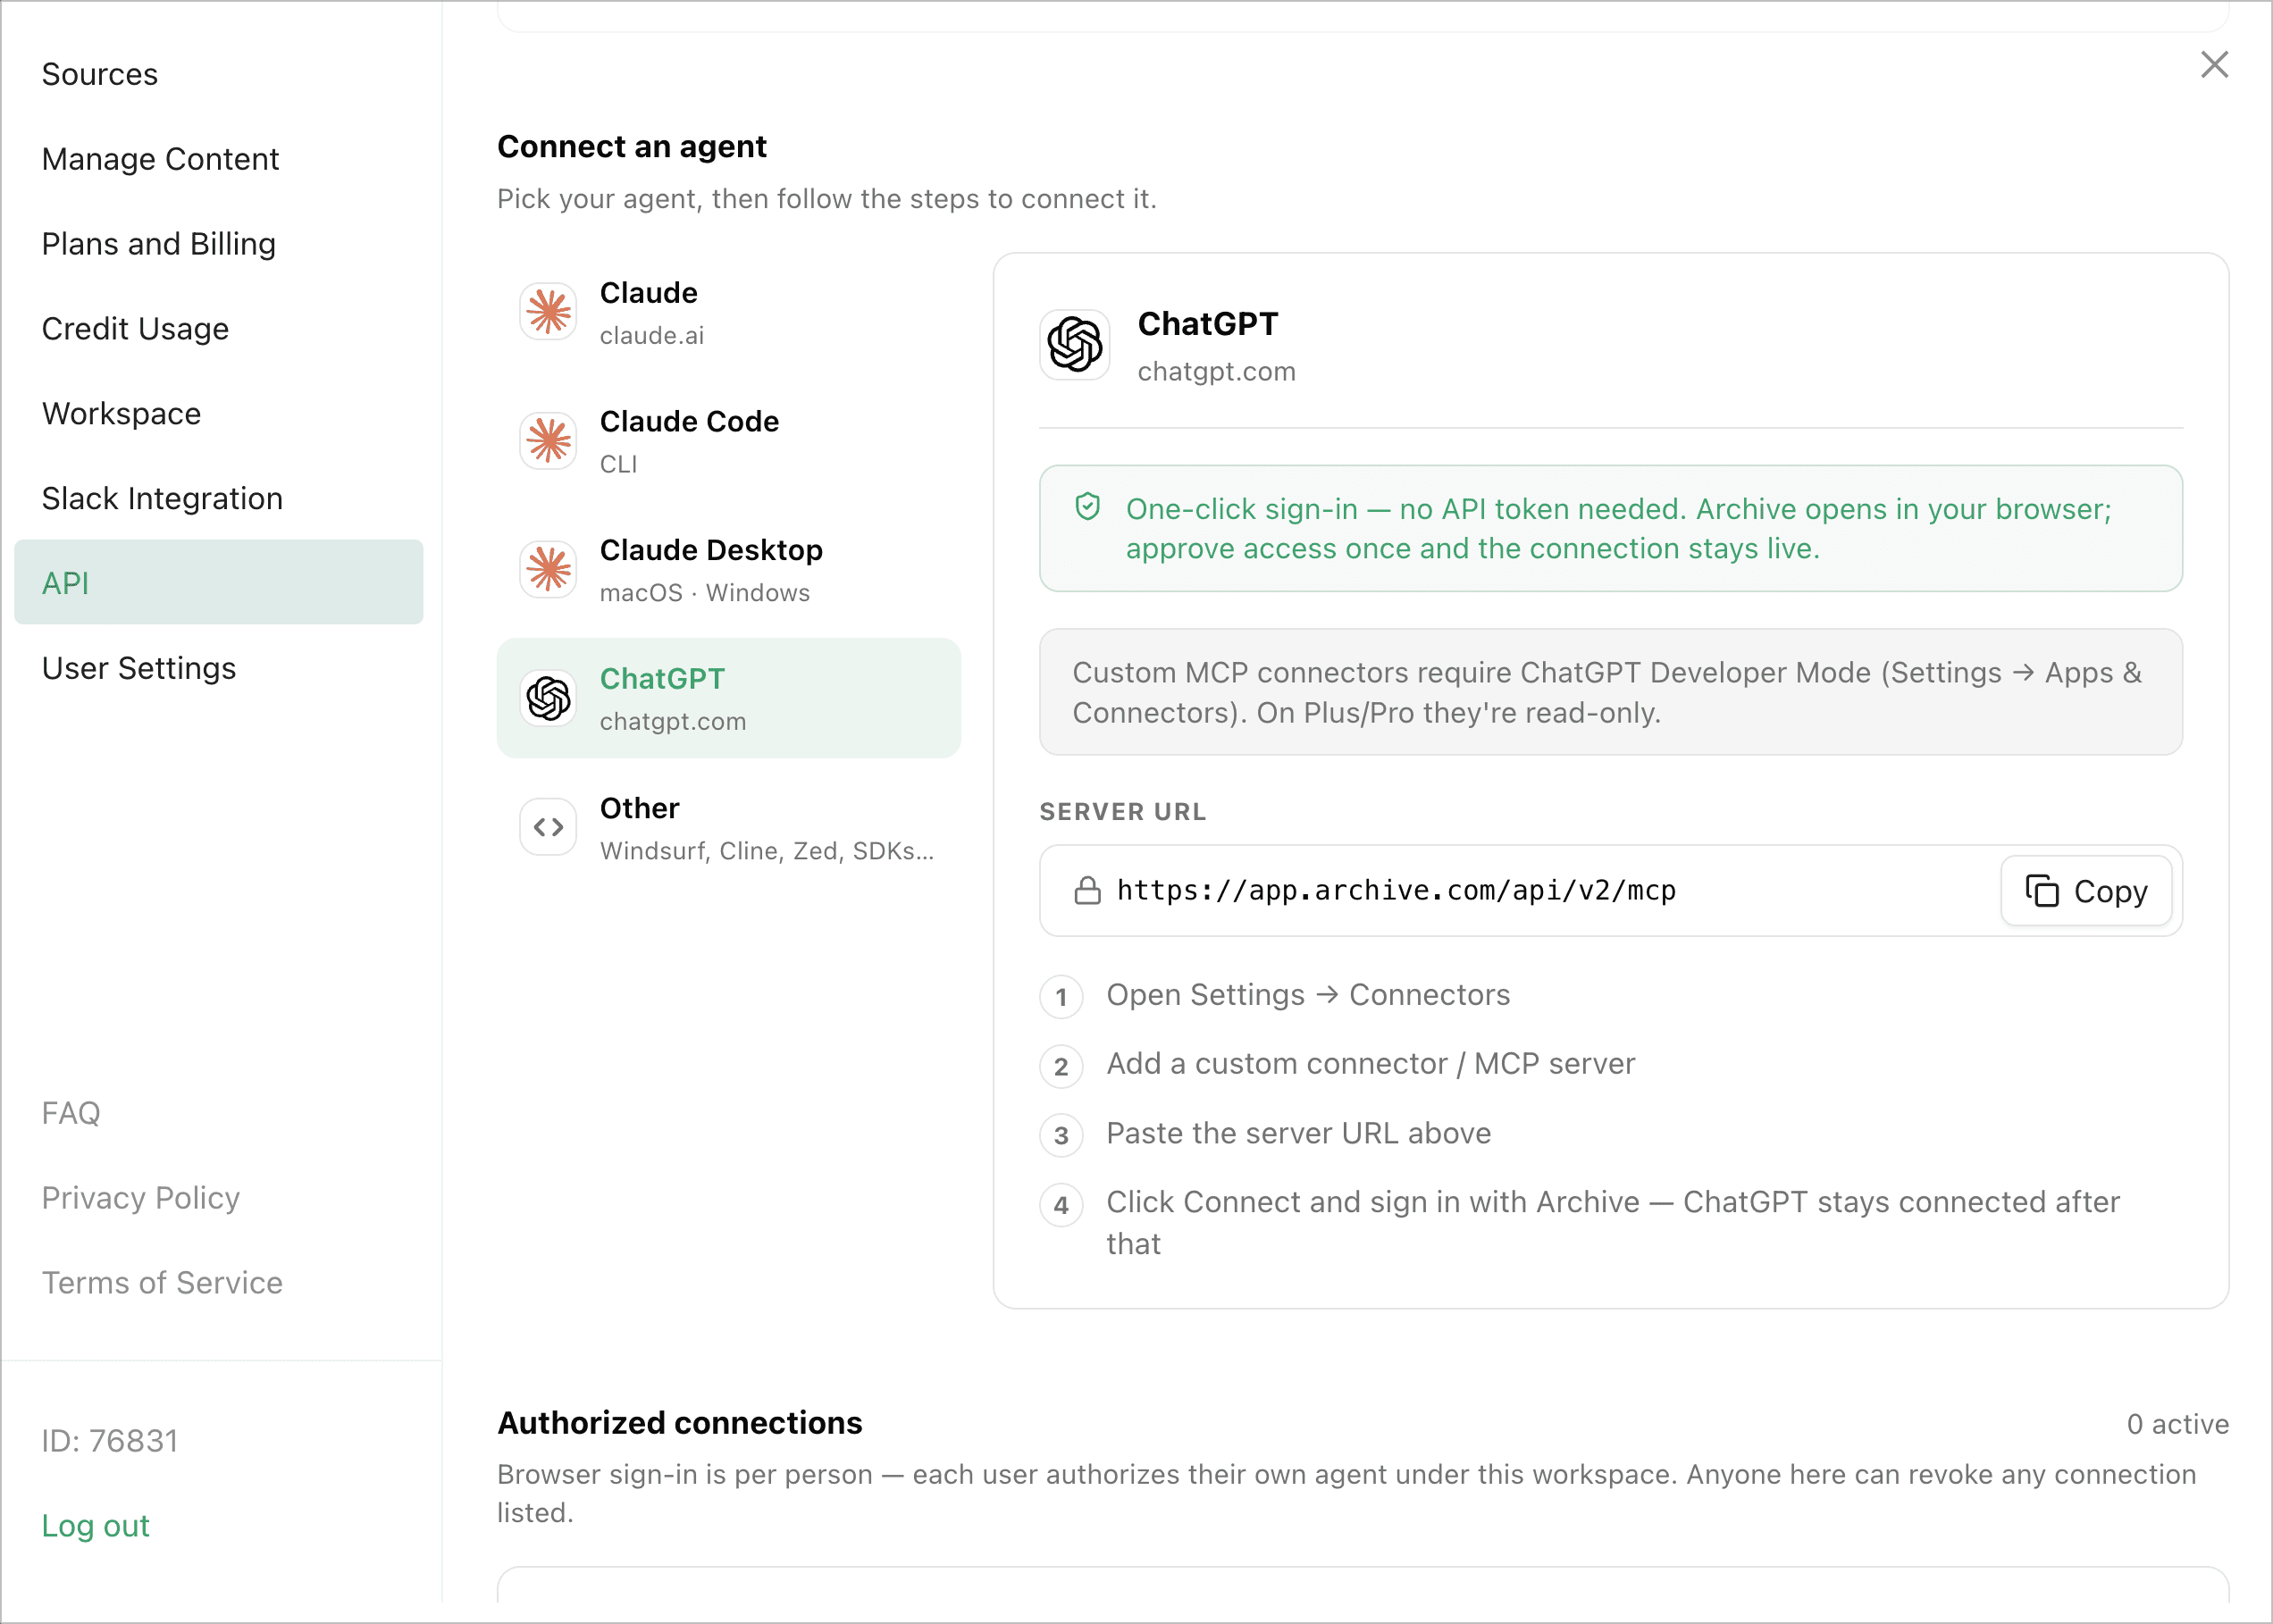
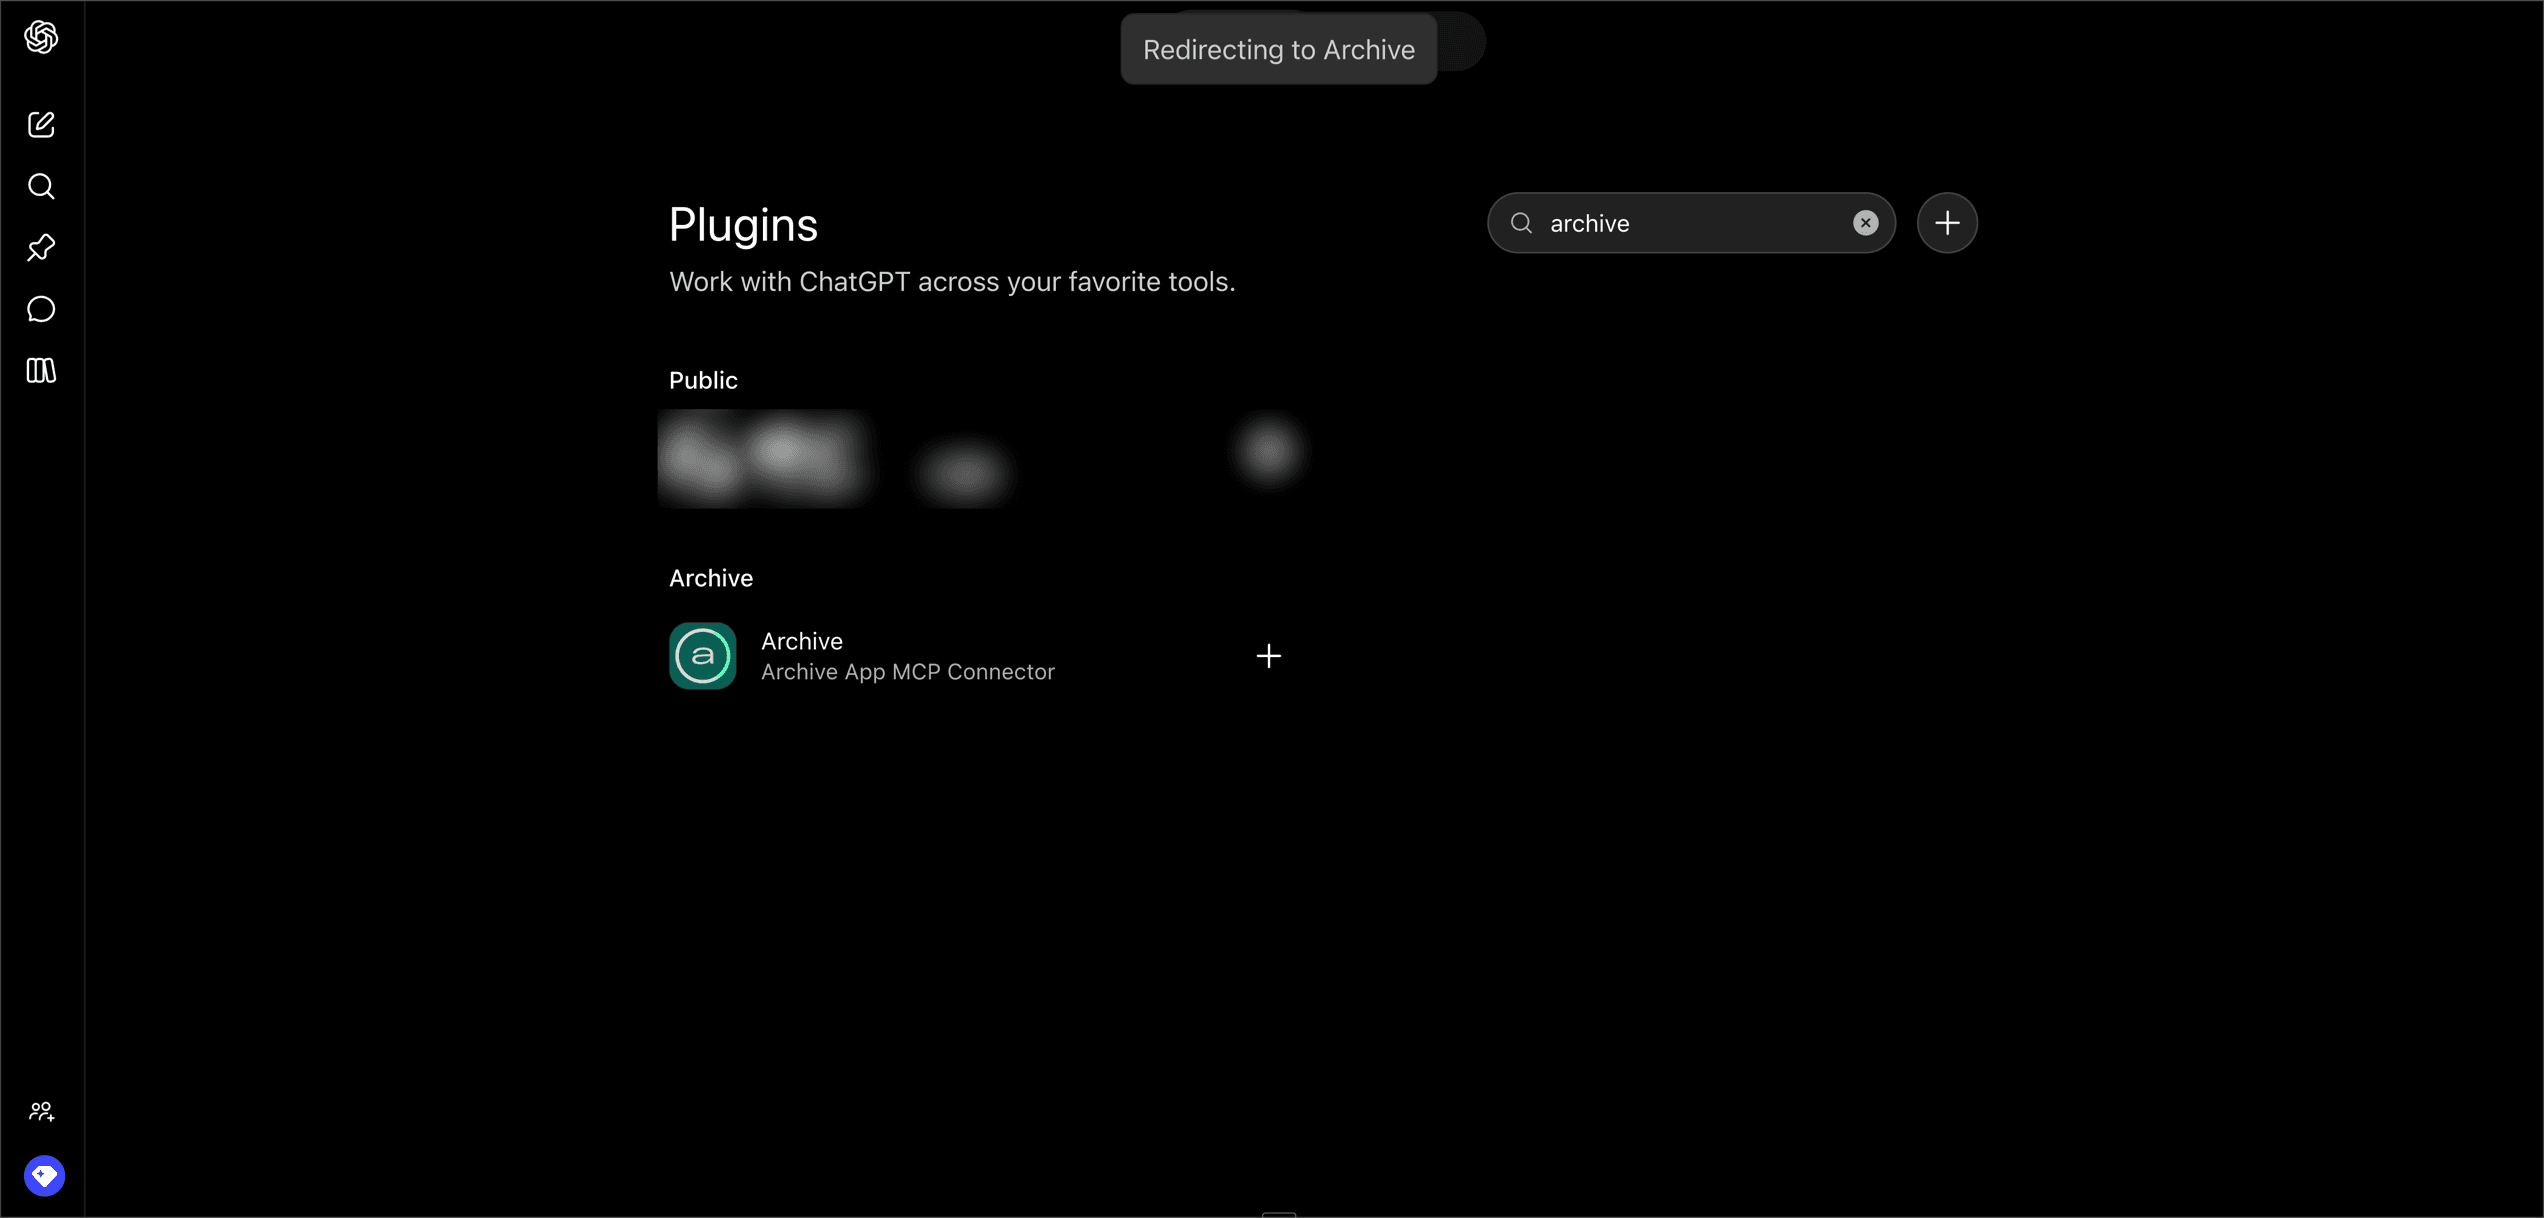
Creating it makes Archive available to the workspace, but it doesn’t switch it on for anyone. Each member opens chatgpt.com/plugins , finds Archive under the workspace’s own section — not under Public — and clicks +:
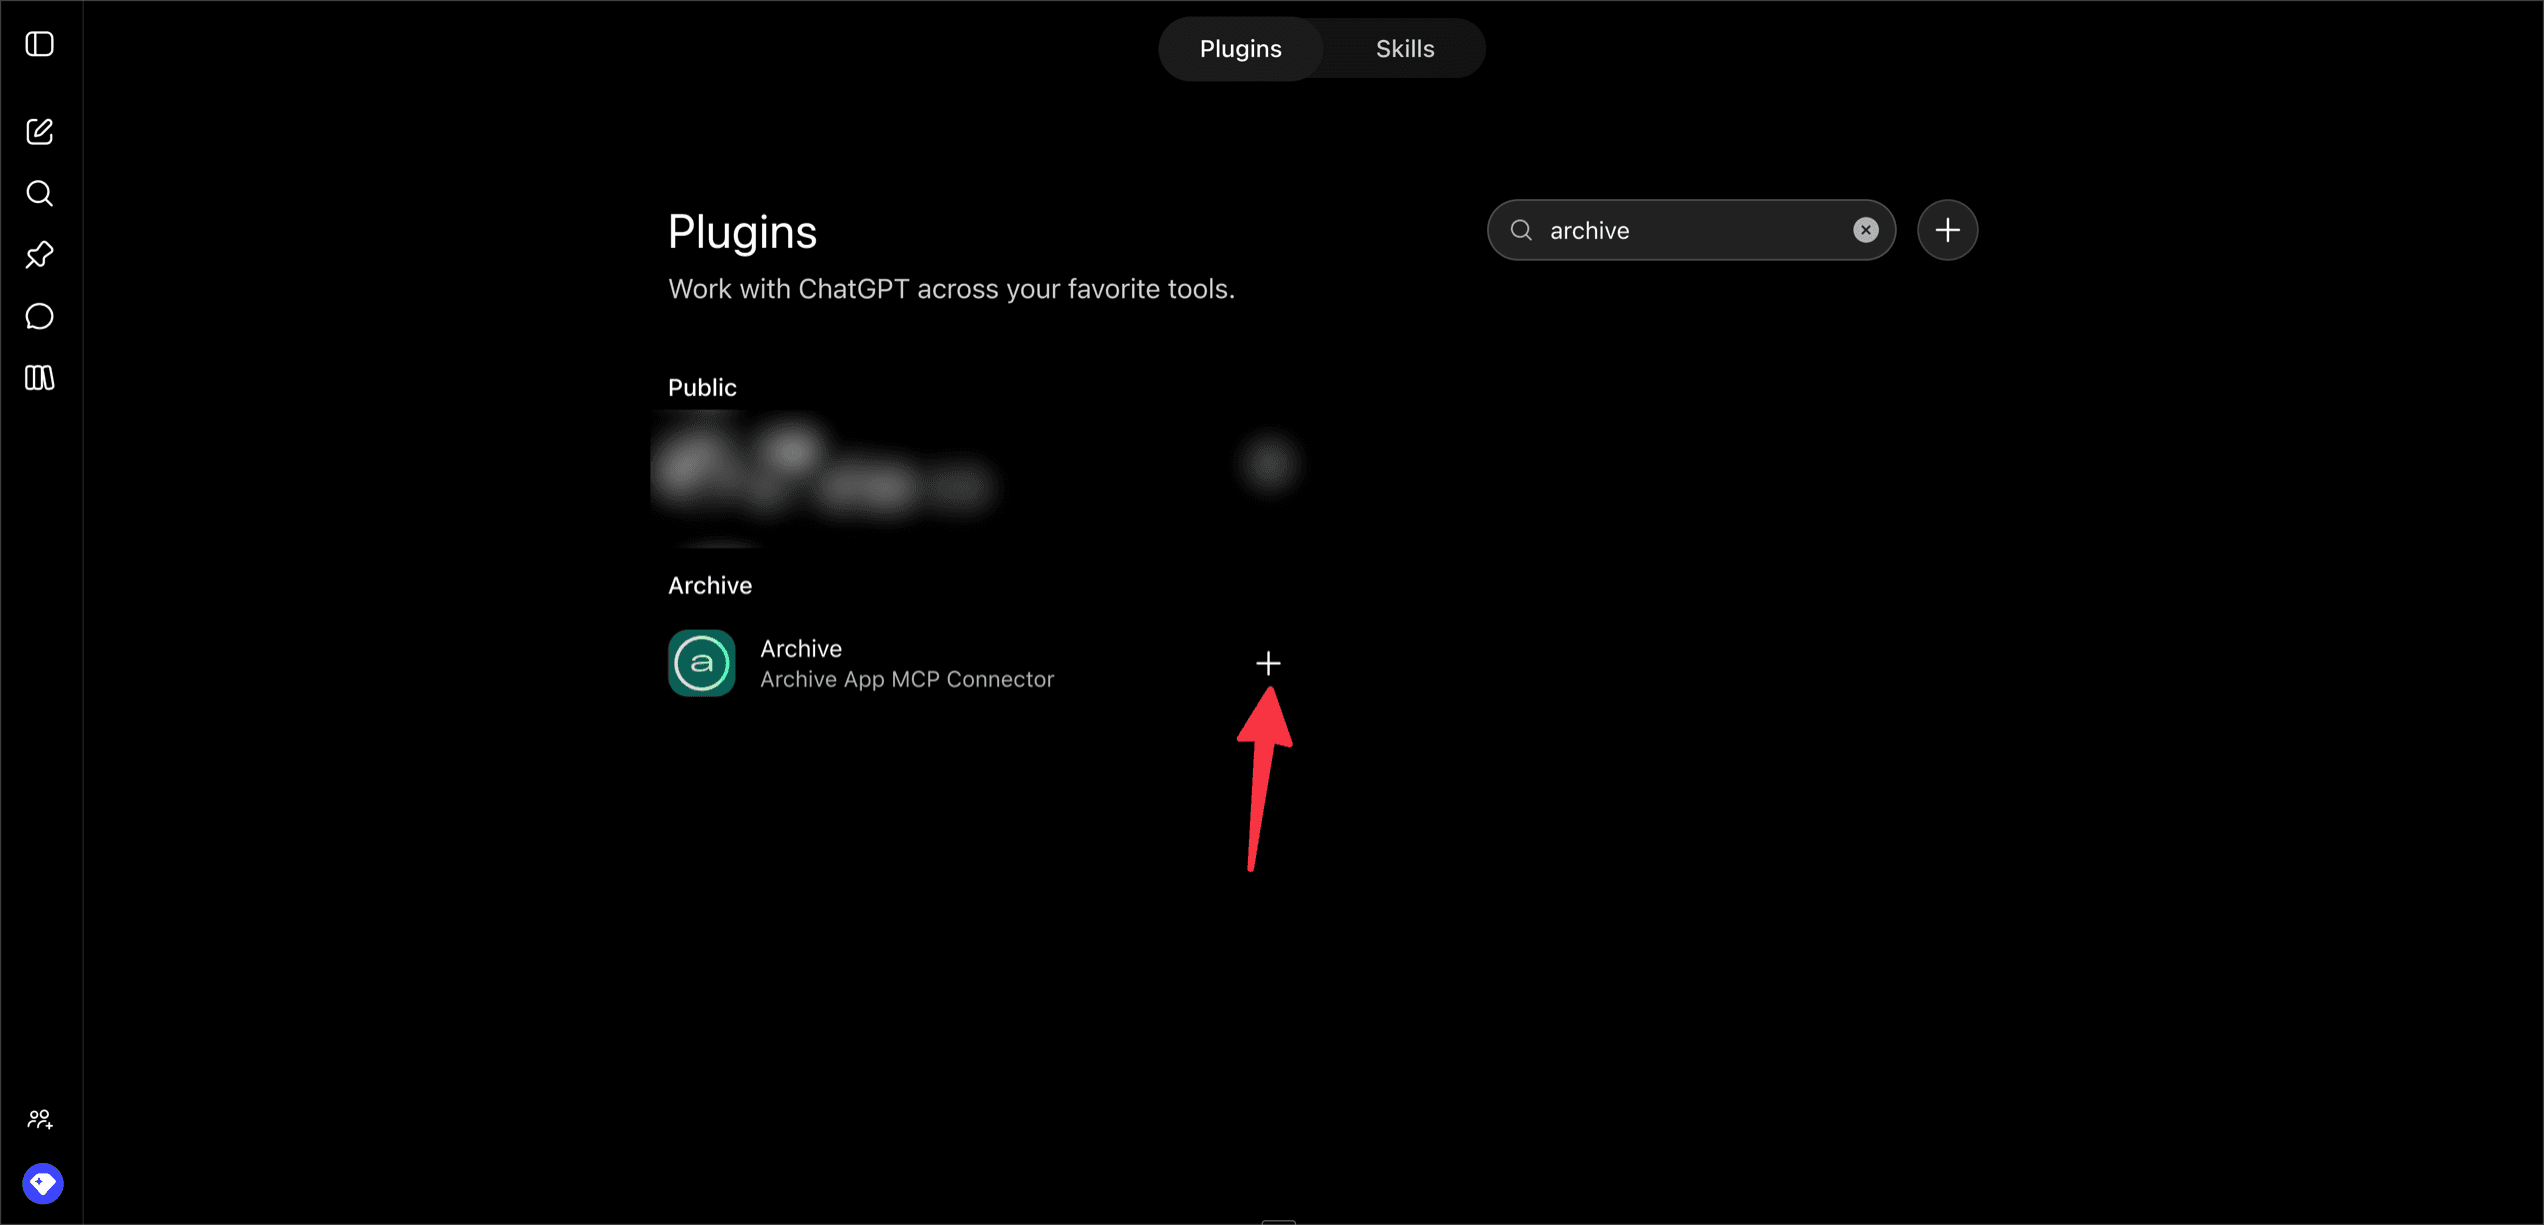
This is where the Description from the New App dialog shows up — the only hint your team gets about what the connector is, so it’s worth having filled in.
Clicking + sends them straight to Archive — there’s no intermediate dialog, just a Redirecting to Archive toast. Members never paste the server URL and never see the risk acknowledgement; both of those are the admin’s job, done once.
That lands on the last step, where the two decisions that actually matter get made:
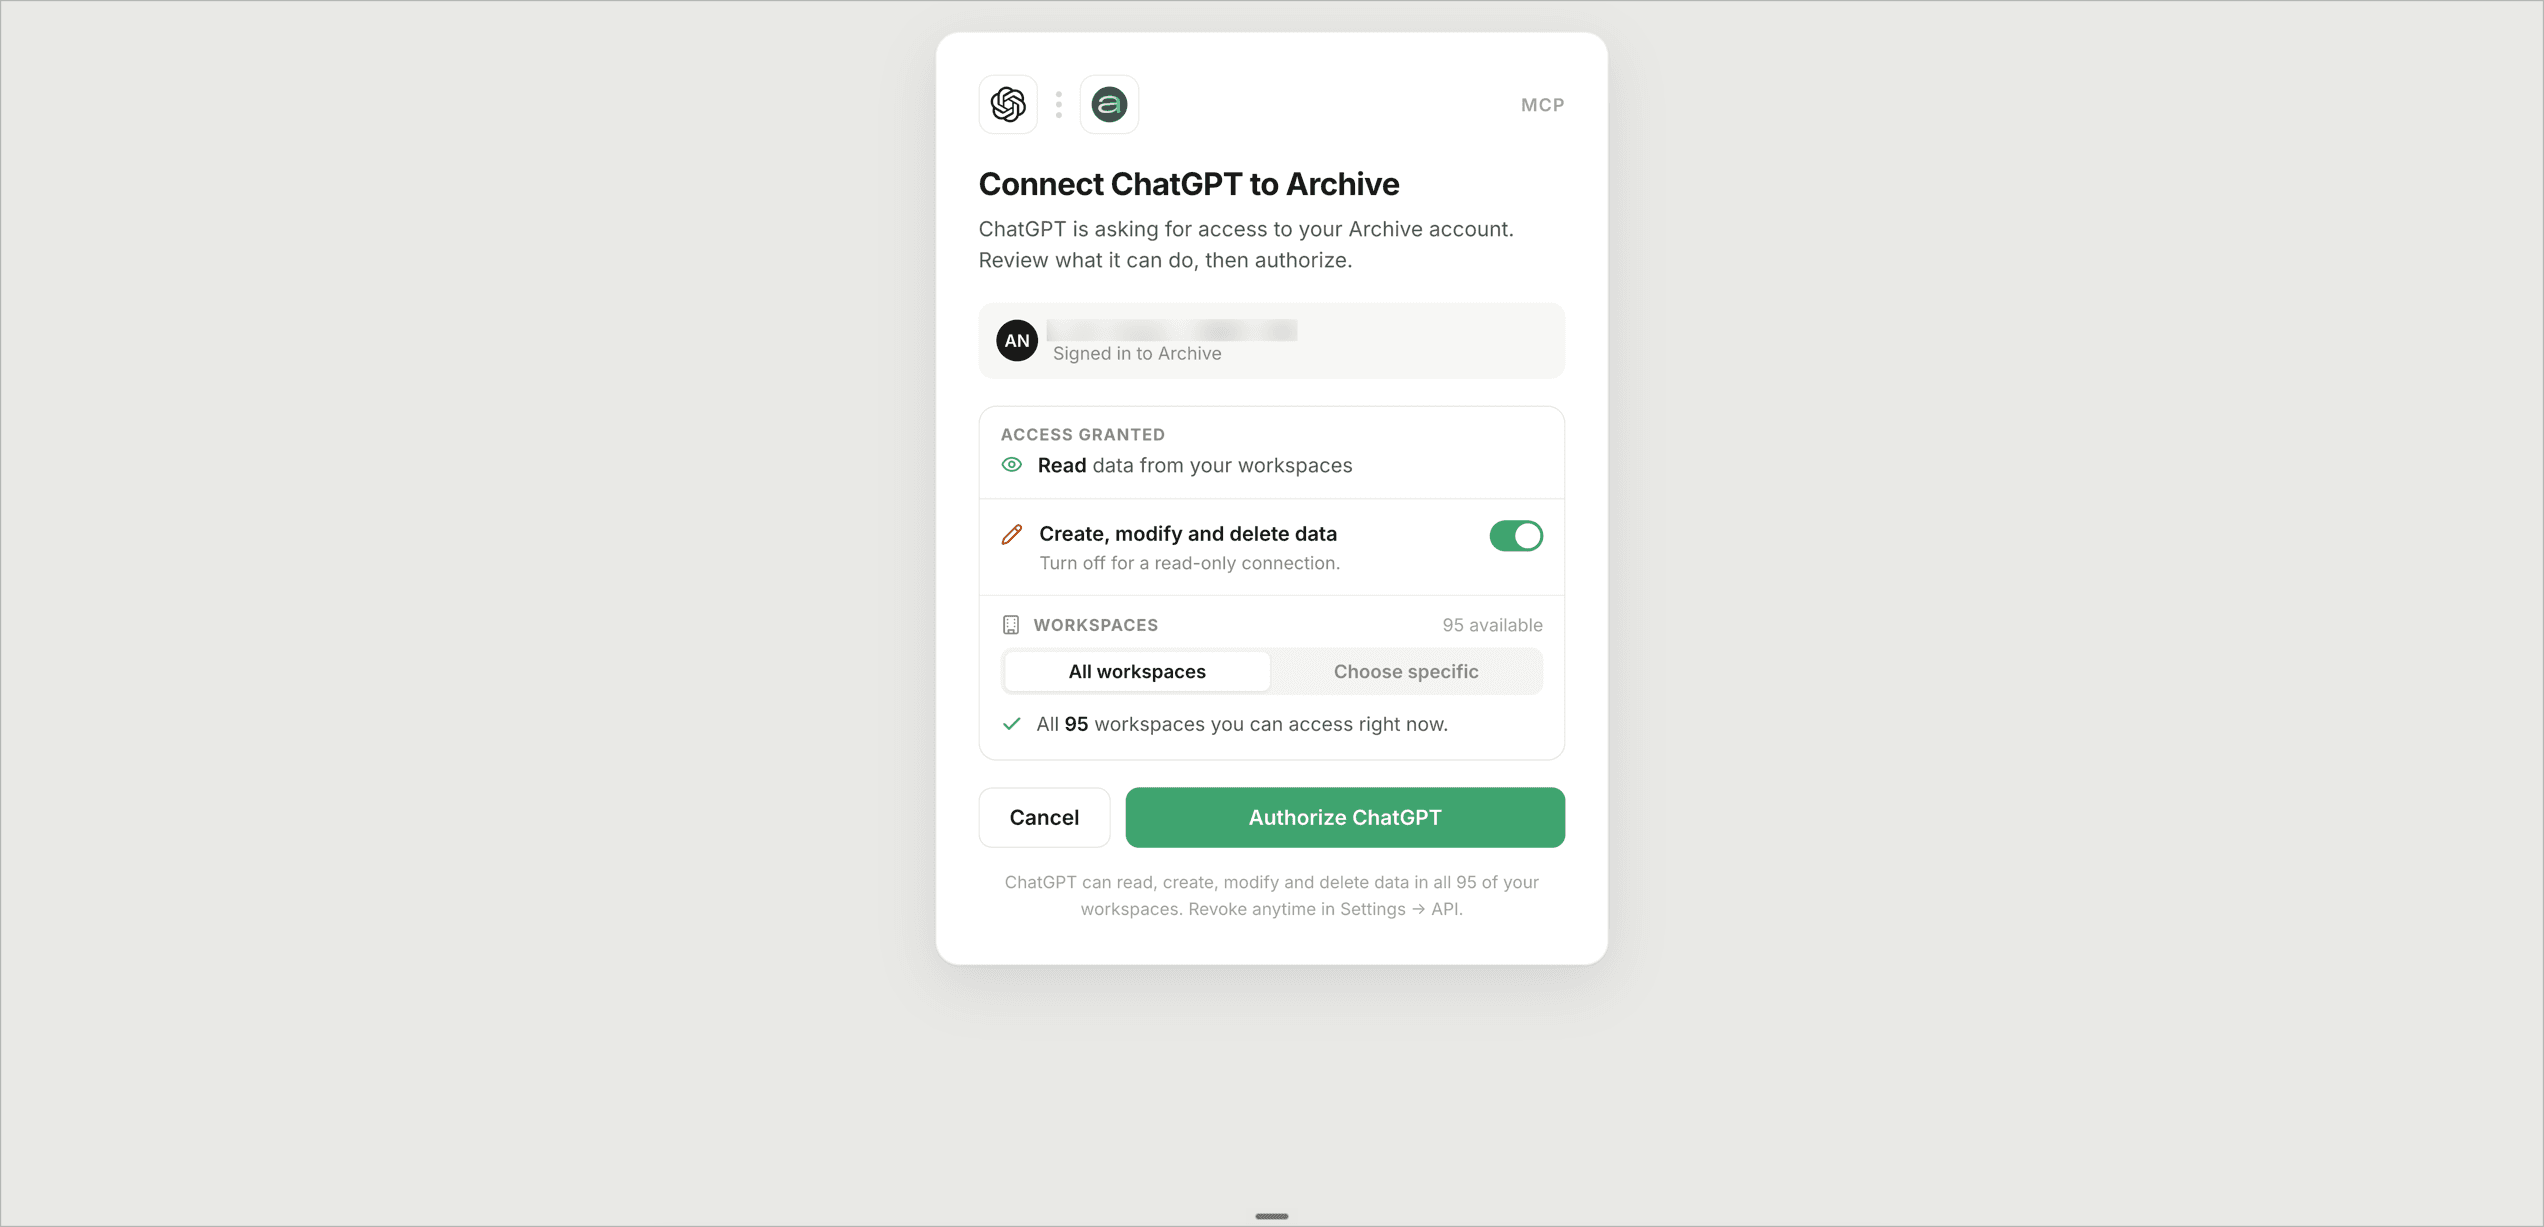
| Control | What to know |
|---|---|
| Create, modify and delete data | On by default. Turn it off for a read-only connection — the assistant can still search, read and analyze everything, it just can’t change anything. |
| All workspaces / Choose specific | All workspaces by default, covering every workspace that person can currently reach. Pick Choose specific to narrow it. |
Both defaults are the permissive ones, so read-only and a narrower scope are opt-outs each person has to make. And because authorization is per person, an admin creating the connector doesn’t settle either one for the team — every member meets this screen on their own first use. Any connection can be revoked later from Settings → API.
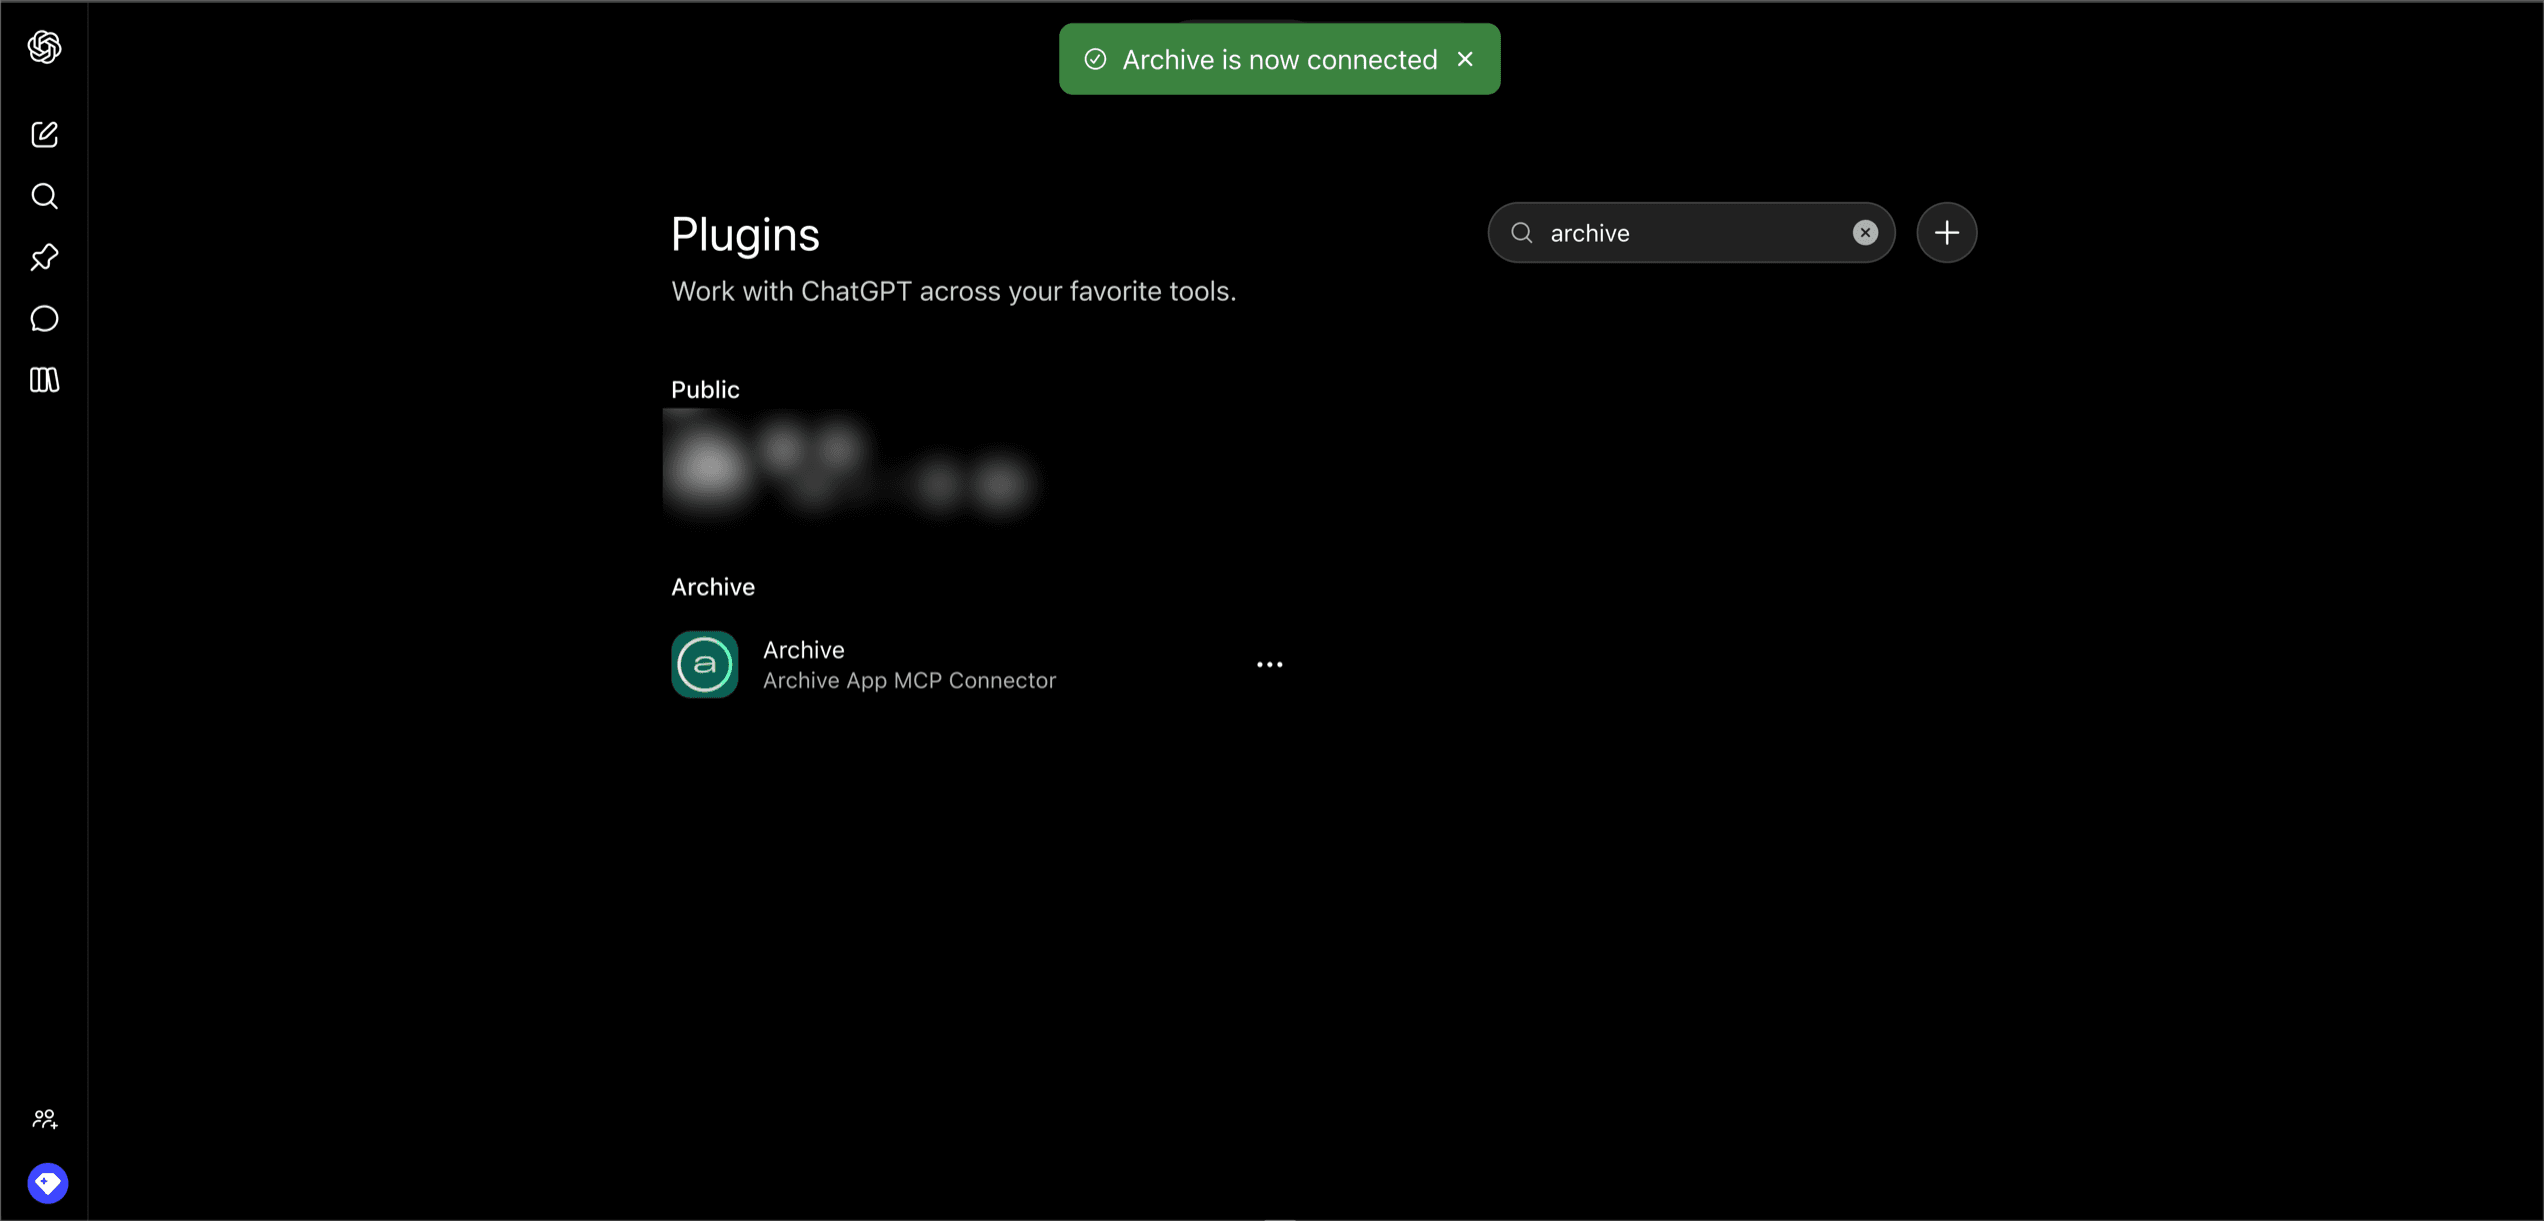
Approving brings them back to the Plugins page with Archive is now connected, and the + turns into a ··· menu — that’s the confirmation, no need to go looking for it:
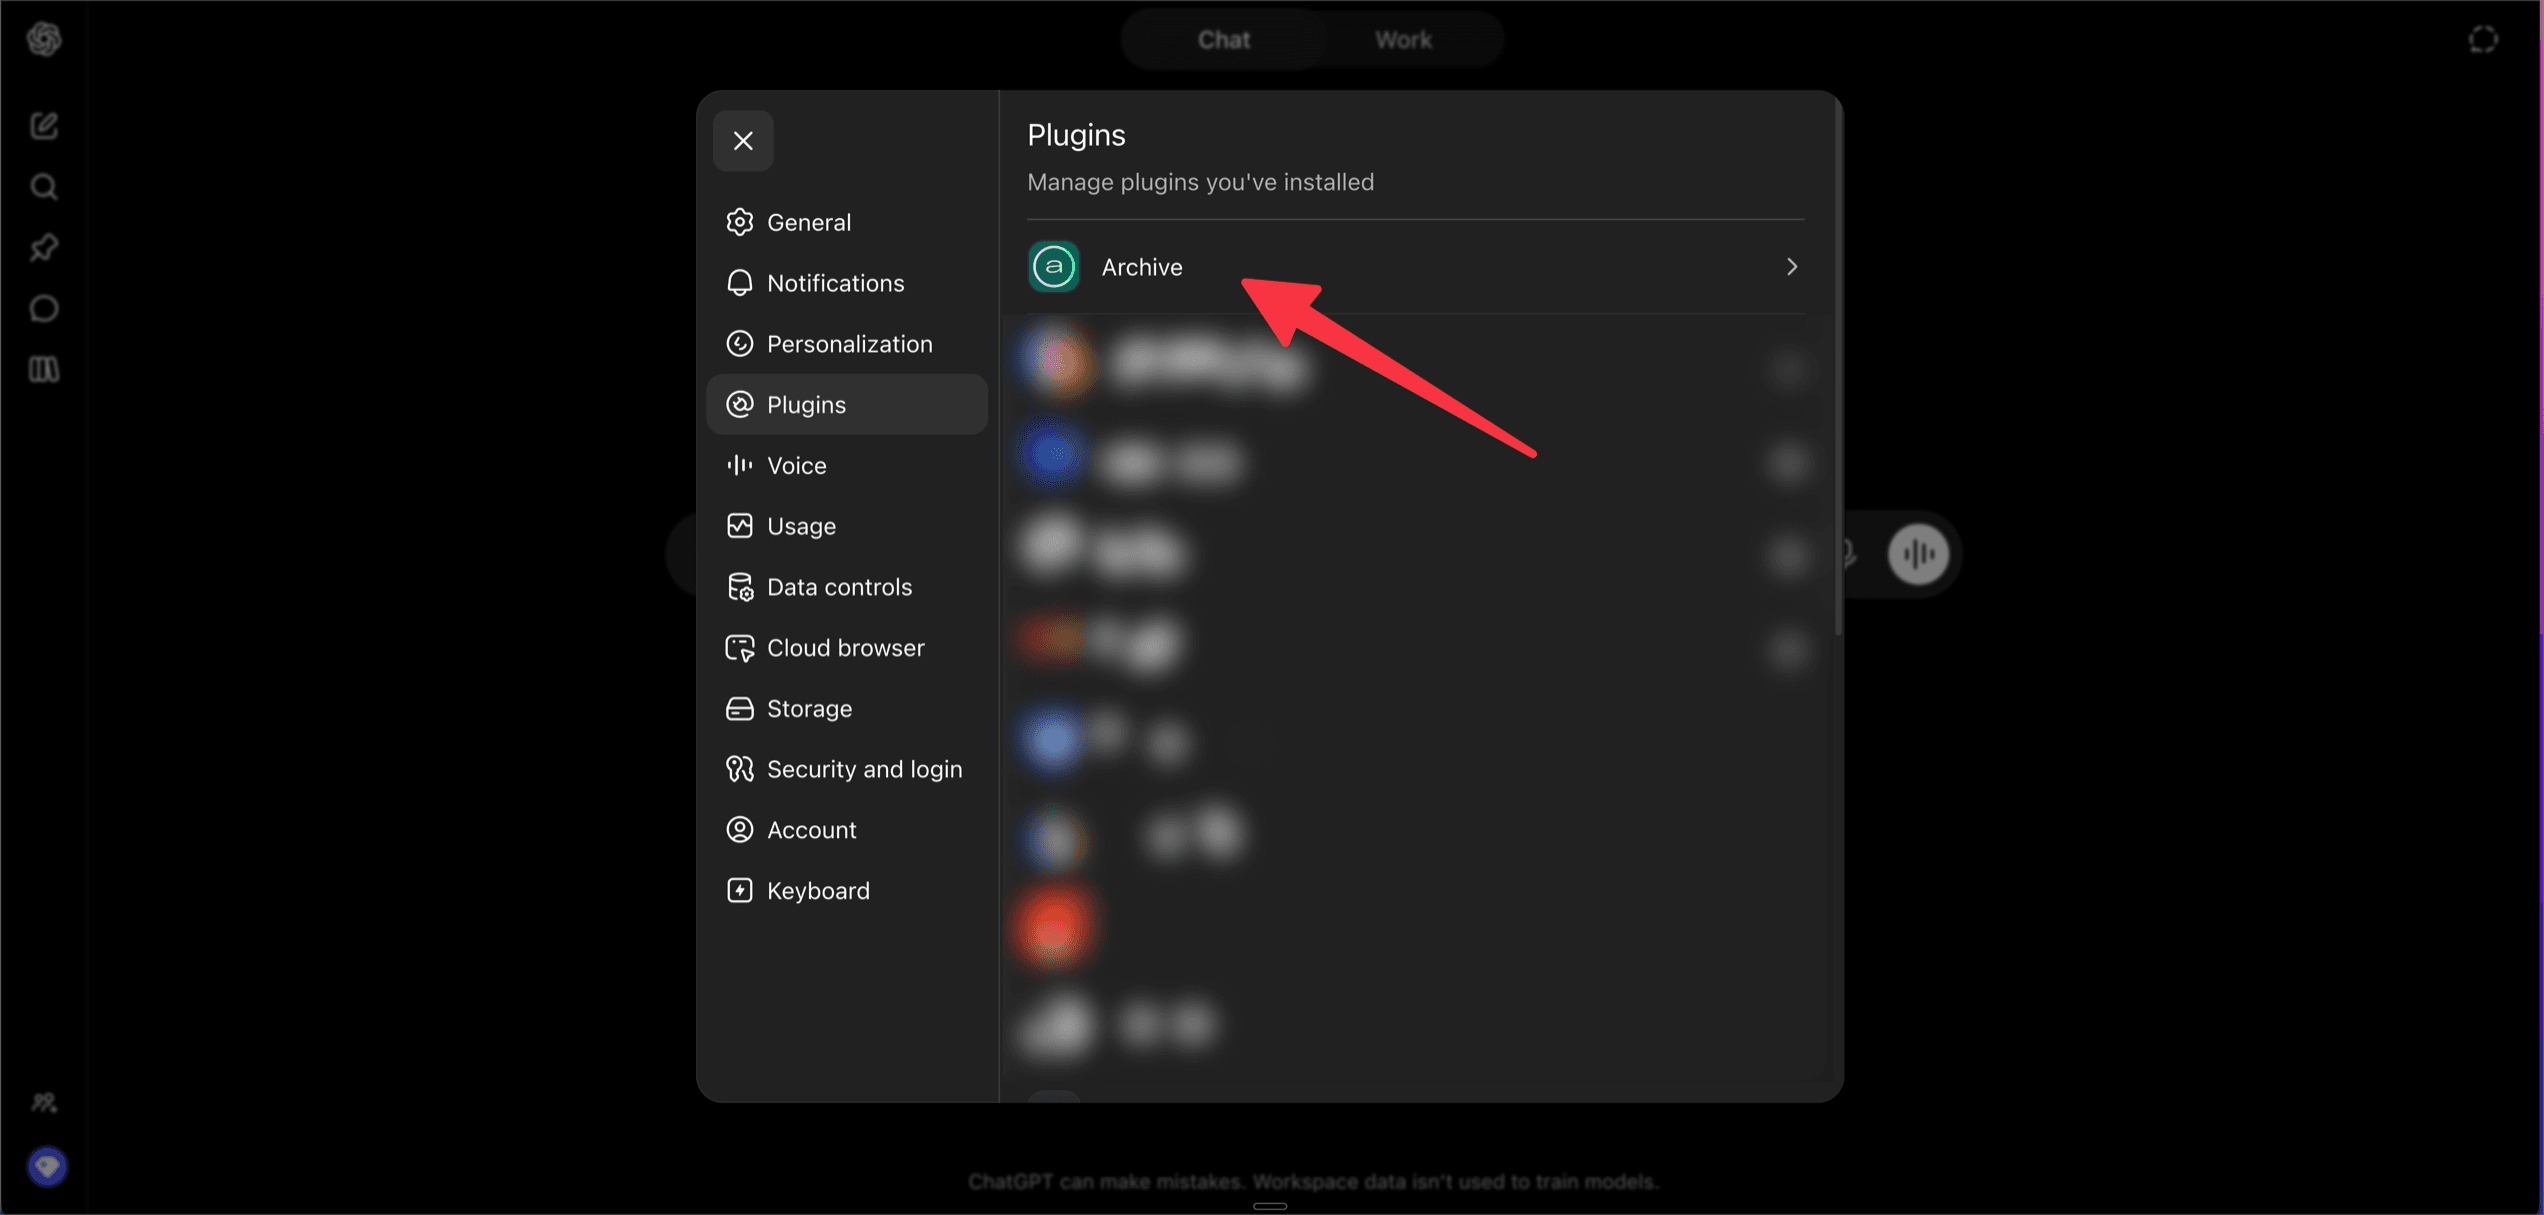
From then on the connection lives under Settings → Plugins, where a member reviews or removes it:
On Plus or Pro there’s no admin console and no separate enable step — you create the connector yourself and sign in, and the connection is read-only whatever you grant.
Other clients
Windsurf, Cline, Zed, Cursor, VS Code, and SDK clients. For anything without a dedicated flow, paste the config below — it uses the mcp-remote bridge with your API token — or connect directly over SDK / HTTP with the server URL and an Authorization: Bearer <token> header.
{
  "mcpServers": {
    "archive": {
      "command": "npx",
      "args": [
        "-y", "mcp-remote",
        "https://app.archive.com/api/v2/mcp",
        "--header", "Authorization: Bearer ${ARCHIVE_TOKEN}"
      ],
      "env": {
        "ARCHIVE_TOKEN": "<your-api-token>"
      }
    }
  }
}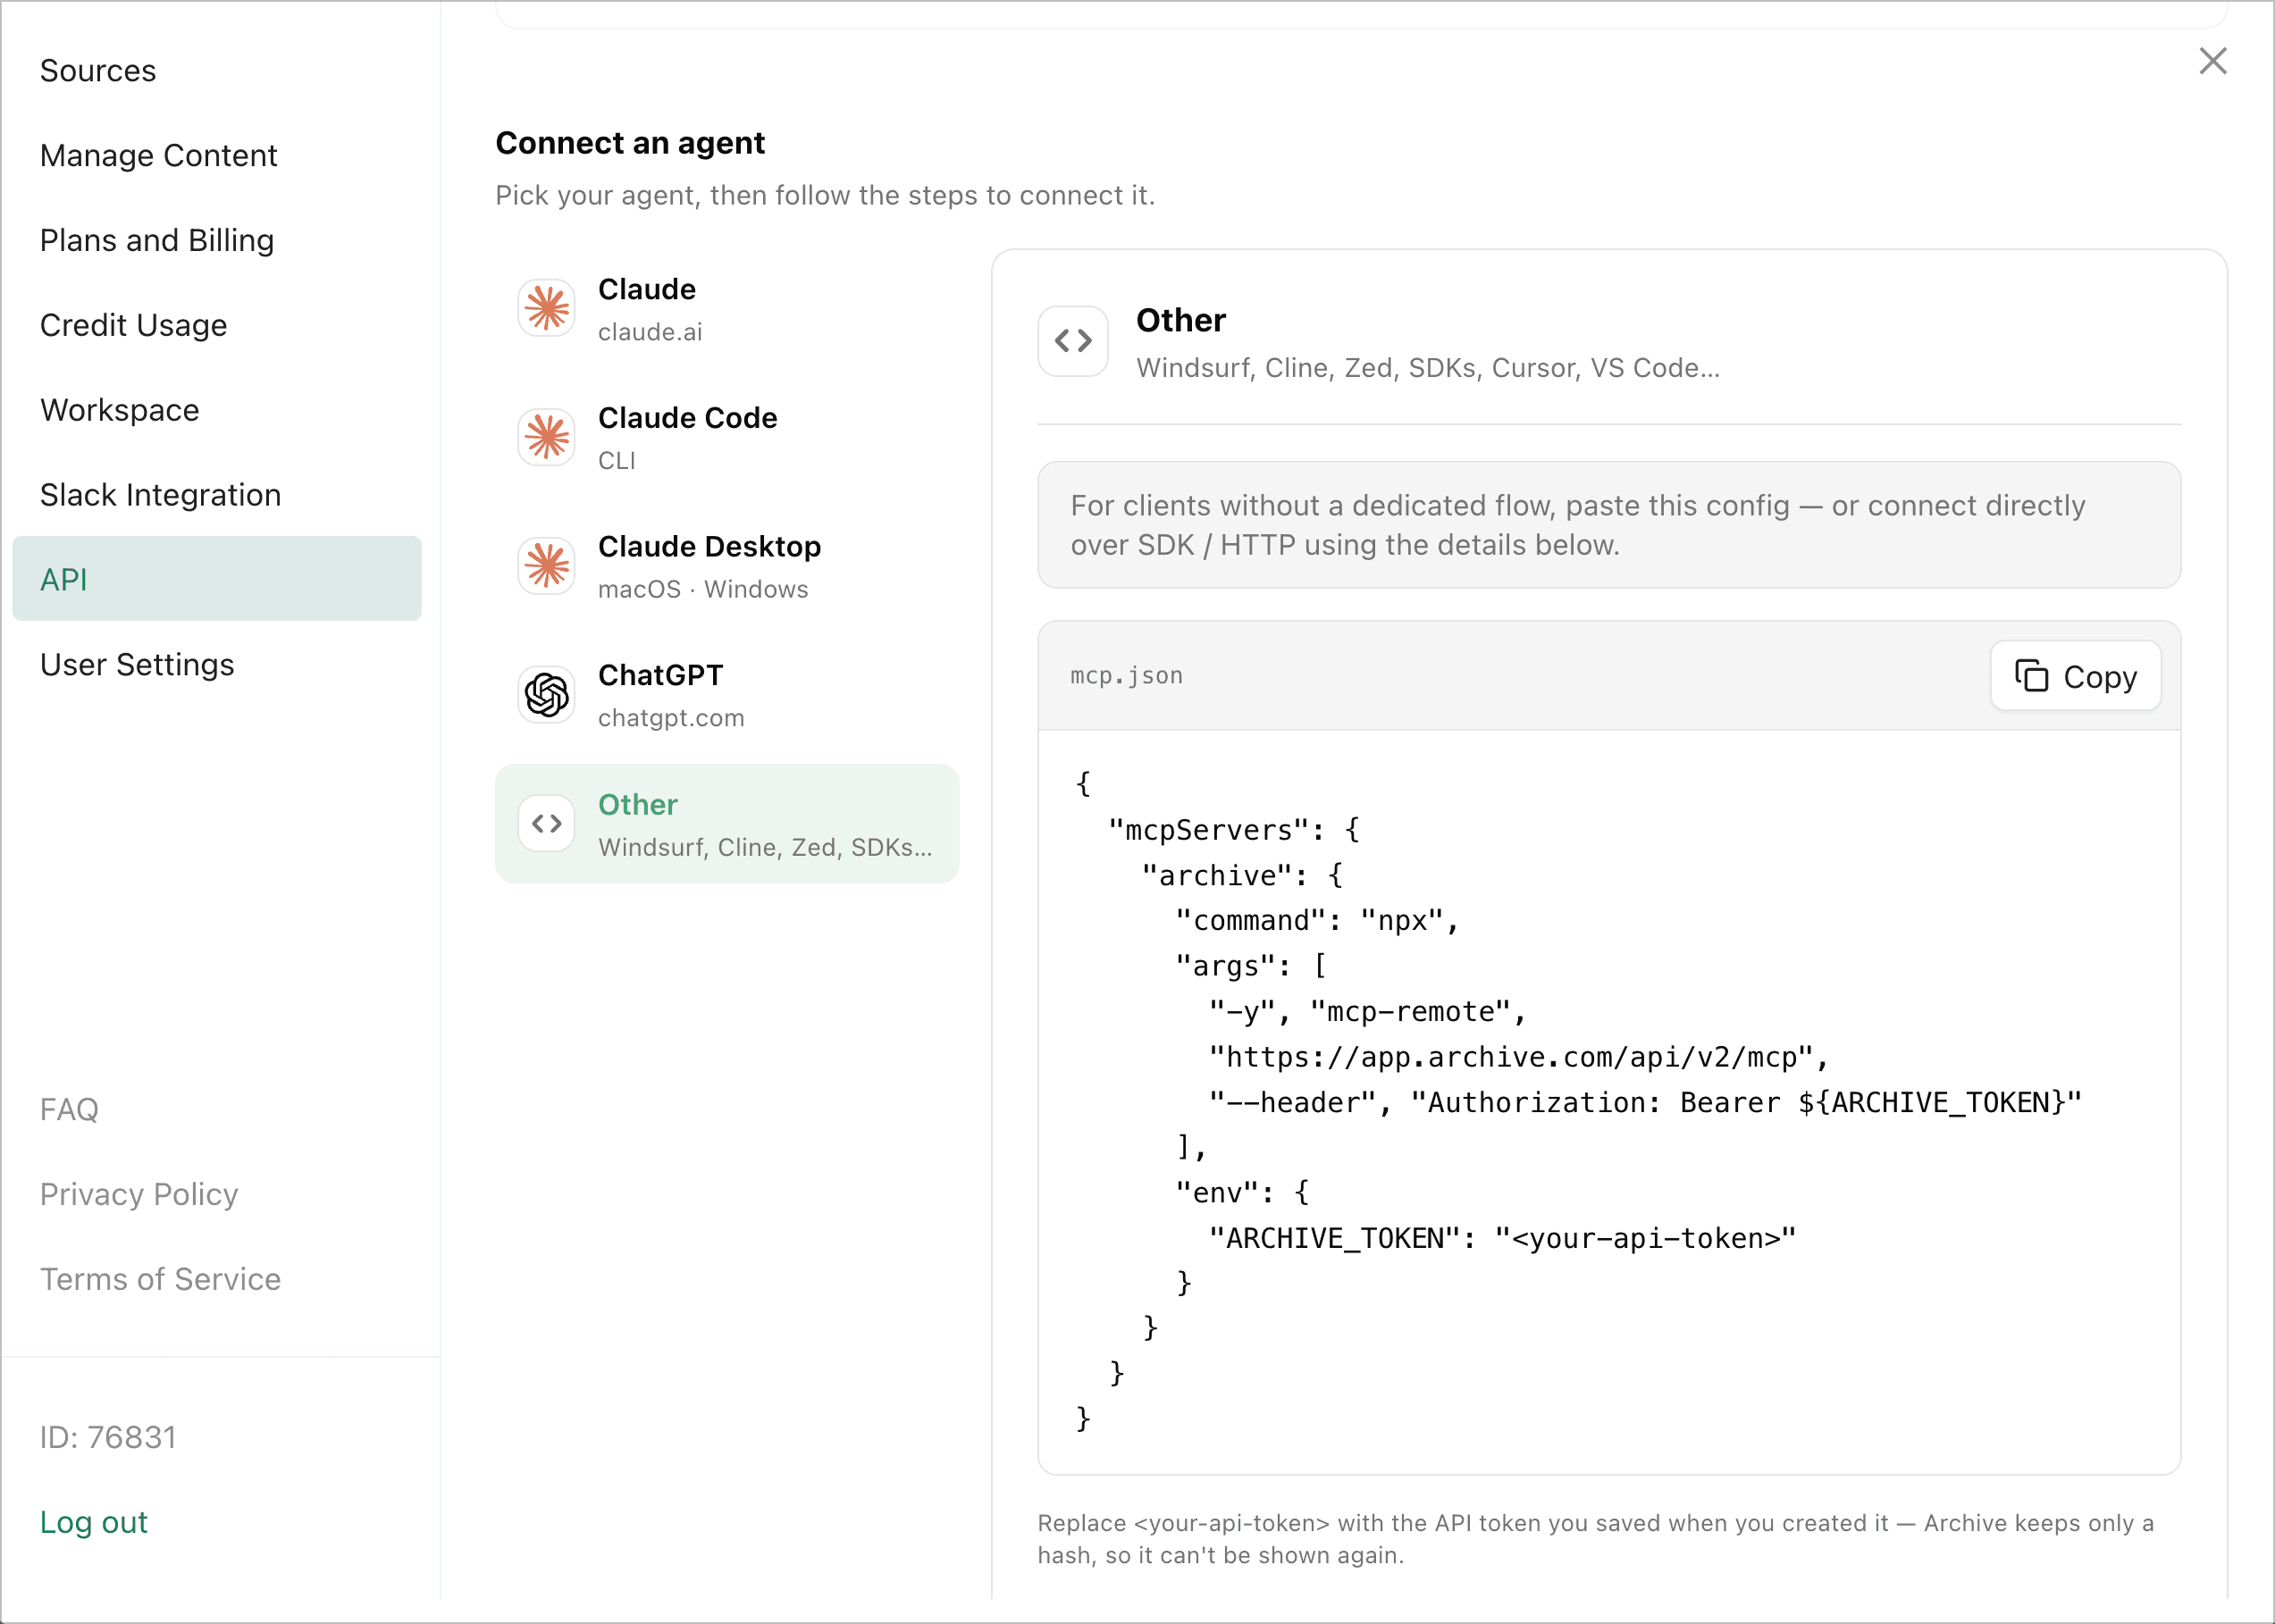
Replace <your-api-token> with the token you saved when you created it — Archive keeps only a hash, so it can’t be shown again.
Once the config is saved and the client restarted, it lists Archive as a connected MCP server. Here, Claude Code’s /mcp shows the config-file connection live with all its tools:

Don’t paste the token into your AI chat. It belongs in the config file (Other clients) or stays out entirely (browser sign-in).